A Diaper change can feel like the smallest task in your day… and yet it decides so much: your baby’s comfort, their skin health, how often clothes get soaked, and sometimes even how well everyone sleeps. If you are doing diapering in hot, humid weather, travelling in traffic, or juggling help from grandparents and a crèche, the routine needs to be simple, fast, and safe.
Good news: a strong Diaper change routine is not about fancy products. It is about timing, gentle cleaning, careful drying, and a fit that seals without squeezing. Let’s make each step feel doable, whether you have a newborn with frequent stools or a toddler who wants to run away mid-change.
Diaper change basics: what it is and why it matters
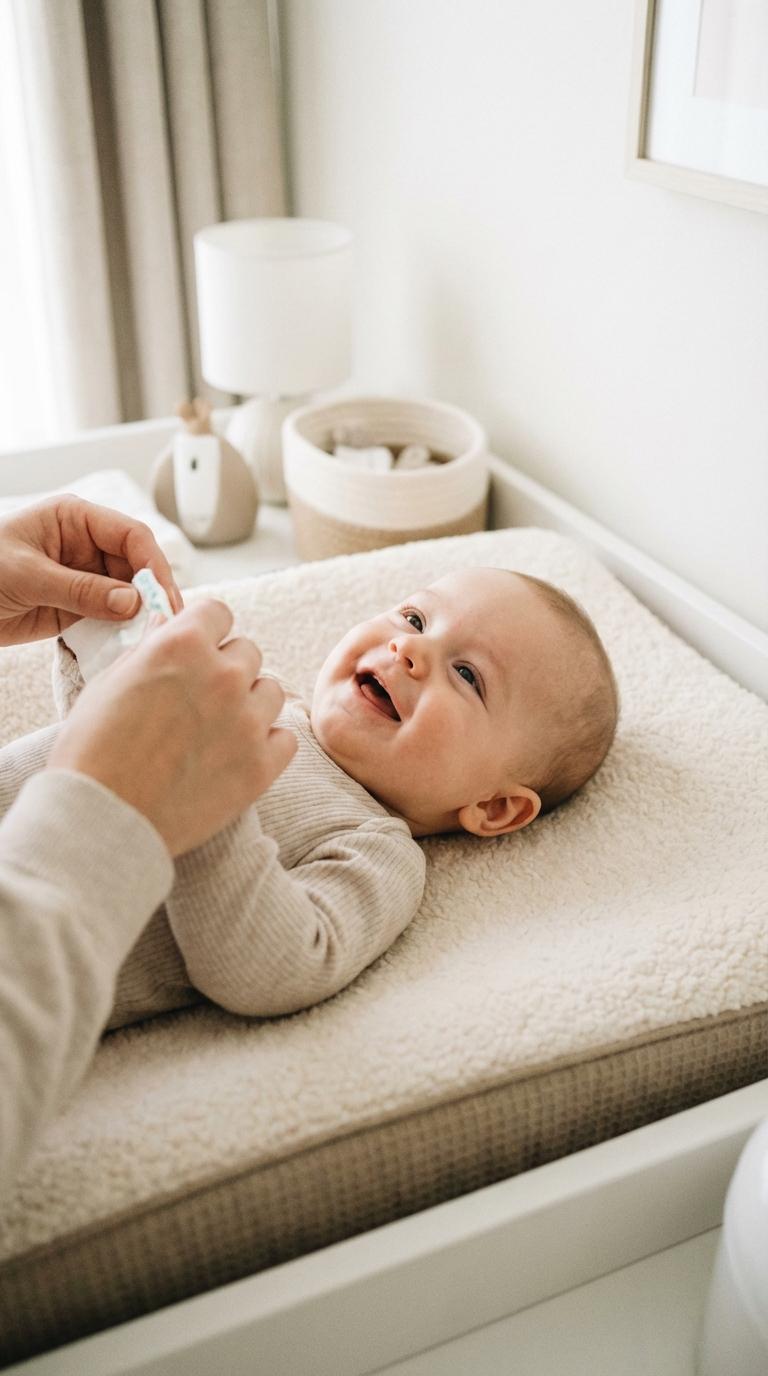
A Diaper change is a short care sequence with a clear goal: keep your baby clean, dry, and comfortable. Practically, it means removing the soiled diaper, cleaning urine and stool off the skin, allowing the area to dry (even for a few seconds), and putting on a fresh diaper with a good seal around waist and thighs.
There is also a “hidden benefit” many parents appreciate with time: each Diaper change is a quick health check. In seconds you may notice redness, small sores, swelling, or stool changes (mucus, watery output, unusual colour) that might need attention.

Why technique helps: hygiene, skin barrier, fewer leaks
The diaper area is warm and often damp. When moisture stays on the skin, the outer layer (the stratum corneum) becomes overhydrated, parents often describe it as “soft and soggy.” Once that barrier weakens, friction in the folds and contact with urine and stool can trigger irritation quickly.
Stool is particularly irritating because it contains digestive enzymes (like lipases and proteases). Add heat and rubbing, and a rash can flare in a day.
A consistent fit routine matters too. Small details, like pulling the leg cuffs out, fastening tabs evenly, and checking for gaps, often decide whether you get a clean outfit or a full blowout situation.
Comfort, sleep, and movement
A wet diaper is not always “minor.” Some babies sleep through it, others wake as soon as they feel damp. In the daytime, a well-fitted diaper supports rolling, crawling, standing, and that endless fall-and-try-again cycle.
If you are wondering whether a diaper can restrict movement: yes, if it is too tight at the waist, bulky between the thighs, or too loose and slipping.
Disposable, cloth, and hybrid: what Indian families often weigh up
- Disposable diapers: convenient, high absorbency, helpful for outings and night sleep.
- Cloth diapers/langots: can be cost-effective, but need a steady wash routine, in humid climates, drying fully is important to prevent odour and microbial growth.
- Hybrid systems: reusable covers with disposable or washable inserts.
Whichever you choose, the basics of a Diaper change stay the same: frequent changes, gentle cleaning, careful drying, barrier protection when needed, and a fit that seals without pinching.
When to do a Diaper change: picking the right moment
Cues that the diaper needs changing
Many diapers have a wetness indicator line. Other cues include:
- a heavier, sagging feel
- strong urine smell
- fussiness, squirming, back-arching
- scratching at the diaper area
Some babies do not react much, especially with very absorbent disposables. Then your best guide is routine plus skin condition.
After pee vs after poop
After poop, change promptly. Stool enzymes and bacteria irritate skin, especially in the folds.
After pee, a routine schedule is usually enough. If redness keeps returning, shorten the gap between each Diaper change.
Around feeds: before, after, or wait a bit?
No single rule suits every baby.
- If your baby often poops during or right after a feed, waiting 10–20 minutes may save you from two consecutive changes.
- If the diaper is already very wet or your baby seems unsettled, a Diaper change before feeding can help.
- If spit-up or reflux is common, changing right after feeding may press on the tummy, changing before, or handling gently, often works better.
Before naps and bedtime
A Diaper change just before sleep reduces wake-ups from dampness and lowers leak risk. Quick check: folds dry, waistband not digging in, leg elastics sitting well.
How often to do a Diaper change
Typical frequency by age
- Newborns (0–3 months): often 8–12 changes daily.
- Infants (3–12 months): commonly 6–8 daily, with normal variation.
- After solids: stool becomes thicker and sometimes more irritating, change promptly after poop.
Two pitfalls show up often:
- waiting too long (moisture builds)
- over-wiping during very frequent changes (friction irritation)
Overnight decisions
At night, change if:
- there is poop
- there is a leak (or one is clearly coming)
- skin is very red, sore, or there is an ongoing rash
If your baby is sleeping, there is no stool, and the diaper is high absorbency, many families wait till morning. Sleep matters: for growth, immune function, and everyone’s sanity.
A gentle night routine
If you need a night Diaper change:
- keep light dim
- move slowly
- minimise talking and stimulation
- for urine only, warm water + cotton can be enough
- dry well, then close up and settle back
Daycare/crèche coordination
Share a simple plan with caregivers: how often to check, which products to use, and any active skin issues. Pack extras and ask for a brief note of the last change time.
Special situations: diarrhoea, illness, stool changes
- Diarrhoea: do more frequent Diaper change and use barrier at every change.
- Illness: watch wet diaper count, fewer wet diapers may signal dehydration.
- Digestive transitions: stools can become acidic or frequent, shorten timing and keep cleaning very gentle.
Diaper changing essentials: supplies and a calm setup
A smooth Diaper change starts with preparation.
Home checklist
Keep within arm’s reach:
- diapers (current size + a few of next size)
- wipes or warm water + cotton or washcloth
- barrier cream or ointment (when needed)
- a soft cloth for patting dry
- disposal bags and a lidded bin
- spare clothes (and socks)
- optional: one small toy reserved for changes
Safest spot: table, bed, or floor?
The floor is often safest once your baby can roll quickly. Raised surfaces increase fall risk.
One-hand-on-baby rule
On any raised surface, keep one hand on your baby at all times. If you must move away, take your baby along.
Diaper sizing basics
Sizing is about seal and coverage.
- Too small: deep marks, discomfort, leaks at the top, blowouts.
- Too big: thigh gaps, side leaks.
If leaks are frequent or marks look deep, consider sizing up.
Wipes vs warm water
Fragrance-free, alcohol-free wipes suit most babies. Warm water + cotton often feels gentler for newborns, during irritation, or after diarrhoea when repeated wiping can inflame skin.
Barrier products: how they work
Barrier products form a protective layer between skin and irritants.
- Zinc oxide pastes: thicker, useful when skin is red or inflamed.
- Petrolatum (petroleum jelly) ointment: smooth, helpful to reduce friction.
Use a thin layer when skin is normal. Use a thicker layer when irritation is active, especially with diarrhoea, so wiping removes stool without stripping skin.
Avoid stacking many products, too much can trap moisture in folds.
Hand hygiene and disposal
Wash hands after every Diaper change. Sanitiser is a backup when you cannot reach a sink immediately.
Dispose diapers in a sealed bag/bin. Do not flush diapers, and avoid flushing wipes even if labelled “flushable.”
Step-by-step Diaper change (newborns and babies)
1) Set up first
Wash hands, stage supplies, pre-open the clean diaper, and keep wipes or water and barrier product ready.
2) Open and remove bulk
Unfasten. If stool is present, use the front of the diaper to lift away the bulk first. Fold or roll the dirty diaper closed.
3) Clean gently, then dry thoroughly
- Urine: light cleaning, then dry.
- Stool: clean folds carefully (groin creases, between buttocks).
Always wipe front to back. Pat dry, rubbing increases irritation.
4) Lift safely
Lift by holding both ankles together, or roll your baby slightly to the side and slide the clean diaper under. Side-rolling is often steadier for wiggly babies.
5) Apply barrier only if needed
No redness? You may skip. Redness or frequent rash? Use a protective layer.
6) Put on the clean diaper
Fasten tabs evenly. Pull leg cuffs outward so they seal around thighs.
7) Fit check
Snug, not tight. Two fingers under the waistband is a common check. Look for gaps.
8) Clean up
Dispose the diaper, wipe the surface if soiled, and wash hands again.
Newborn tips: cord stump and meconium
Umbilical cord stump care
Keep it clean and dry. Use diapers with a notch or fold the front down to prevent rubbing.
Meconium clean-up
Meconium is sticky. A small layer of petrolatum as a preventive barrier can make the next Diaper change easier. Warm water + cotton reduces friction.
Toddler Diaper change: making it easier
Preventing rolling and escapes
Change on the floor, keep supplies close, and keep steps predictable.
Standing diaper changes
Standing changes can work for cooperative toddlers with stable balance. Use pull-up style diapers if needed. Avoid doing this on a raised surface.
Gentle cooperation tools
One small toy, one short song, one clear routine. Small choices help: “Do you want to hold the diaper or the wipes?”
Diaper change for boys vs girls
Girls: front-to-back always
Wipe front to back to reduce the risk of bacteria reaching the urethra. Clean gently between outer folds.
Boys: clean what you can see
Clean penis and scrotum and the groin creases. If uncircumcised, do not retract the foreskin.
Surprise pee trick
Cover with a cloth or the front of the clean diaper for a moment while you finish cleaning.
Point the penis downward
Before fastening, point downward so urine flows into the absorbent area, not the waistband.
Diaper rash and Diaper change: prevention and care
Rash risk rises when skin stays damp, stool sits on skin, or wiping becomes harsh.
Common causes
- prolonged wetness
- friction
- stool enzymes (often worse with diarrhoea)
- irritants (fragrances, some wipes or creams)
- yeast (Candida): bright red rash in folds with small “satellite” spots
Prevention essentials
- prompt changes after stool
- pat dry, especially in folds
- barrier ointment if skin is reactive
- a few minutes of diaper-free air time on a towel
When to seek medical advice
Get checked if:
- rash does not improve in 48–72 hours
- oozing, cracking, bleeding, blisters, pus
- spreading redness, significant pain, fever
- yeast pattern is suspected
Leaks and blowouts: quick troubleshooting
If leaks are frequent, check:
- cuffs pulled out
- tabs even
- waistband in correct position
- clothing not too tight (tight leggings can compress the diaper)
Blowouts often suggest the diaper is too small or back coverage is low.
For cloth diapers, recheck rise snaps, thigh seal, and insert placement, add boosters where wetting is strongest.
Diaper change on the go
Pack:
- diapers
- wipes or cotton + a small water bottle
- disposal bags
- portable pad
- spare clothes
- a small cloth for drying
On public changing tables, use your pad as a barrier and keep one hand on baby. If the table feels unsafe, stroller recline or a pad on the floor in a clean corner can be a safer option.
Comfort and bonding during diaper changes
A Diaper change can be respectful and predictable.
- Narrate simply: “Change now. Wipe. Dry. All done.”
- Keep the order of steps consistent.
- Offer eye contact, a short song, or a small role for older babies.
Conclusion
À retenir
- A consistent Diaper change routine protects the skin barrier: less dampness, less friction, fewer rashes.
- After poop, change promptly, after pee, follow routine and skin condition.
- Overnight, change mainly for poop, leaks, or significant irritation, otherwise sleep can continue.
- Safety first: stable surface, supplies ready, and one hand on baby on raised surfaces.
- Clean gently, pat dry, and keep products simple to avoid trapping moisture.
If you would like personalised guidance and free child health questionnaires, you can download the Heloa app for tailored tips and quick check-ins.

Further reading :