
A midnight cry, a wet nappy, and a baby who suddenly learns to wriggle like a little acrobat. That is when diaper change feels less like a routine and more like a skill. In Indian weather, sweat and humidity can add to moisture in the folds. So the focus stays practical. Clean gently, dry properly, protect the skin barrier, and get the fit right.
Diaper change essentials every parent can feel confident about
Why a diaper change matters (comfort, skin health, sleep, bonding)
A diaper change means removing a wet or soiled diaper, cleaning the diaper area, drying well, adding a protective layer if needed, and putting on a fresh diaper.
Comfort is only one part. Baby skin is still maturing. The skin barrier (outer protective layer that limits water loss and blocks irritants) is thinner than adult skin. When the area stays wet, the skin becomes soft and fragile. This is maceration (skin softening from prolonged moisture). Then stool adds digestive enzymes (proteases and lipases) that can inflame the skin. This is how irritant diaper rash begins.
A regular diaper change routine can:

- reduce moisture and maceration,
- limit friction in the groin and thigh folds,
- reduce leaks,
- help some babies sleep longer when they feel dry.
There is also a quiet bonding angle. A calm voice, steady touch, and a predictable sequence during a diaper change can help babies settle, especially in the newborn phase.
When it’s time for a diaper change
Wetness indicators are handy, but your observation works best.
Do a diaper change:
- immediately after poop (even a small amount),
- when the diaper feels heavy or swollen,
- when there is urine smell or dampness near thighs,
- if leaks appear up the back,
- if you see red lines in folds (often rubbing or a too-full diaper).
For baby girls, wipe front-to-back to reduce bacterial spread towards the urinary tract.
How often diaper change happens by age
Frequency varies with feeding (breast milk, formula, solids), hydration, and skin sensitivity.
Typical ranges:
- 0–3 months: often 6-10+ changes/day.
- 3–12 months: many families do well checking every 2-3 hours in the day, and before naps/bedtime.
- After 12 months: fewer stools for some children, but more movement and sweat, correct thigh fit matters.
If a diaper change is delayed
One late change usually settles fine. Repeated delays can increase:
- irritant rash (diffuse redness, warmth, discomfort),
- tiny skin cracks from friction,
- yeast rash (bright red, often in folds, with small satellite spots),
- leaks plus heavy product layers that trap moisture.
If your baby already has redness: a quick, science-based reset
You may notice mild redness after diarrhoea, teething stools, antibiotics, or starting solids (stools can become more acidic). For the next 48-72 hours, aim for a gentle reset:
- do diaper change more often,
- switch to lukewarm water + soft cloth for pee-only diapers,
- pat dry carefully, especially the folds,
- apply a visible barrier (petrolatum for mild irritation, zinc oxide when redness is more obvious),
- give a few minutes of diaper-free air time when practical.
If redness is worsening, very painful, or spreading beyond the diaper area, a clinician should have a look.
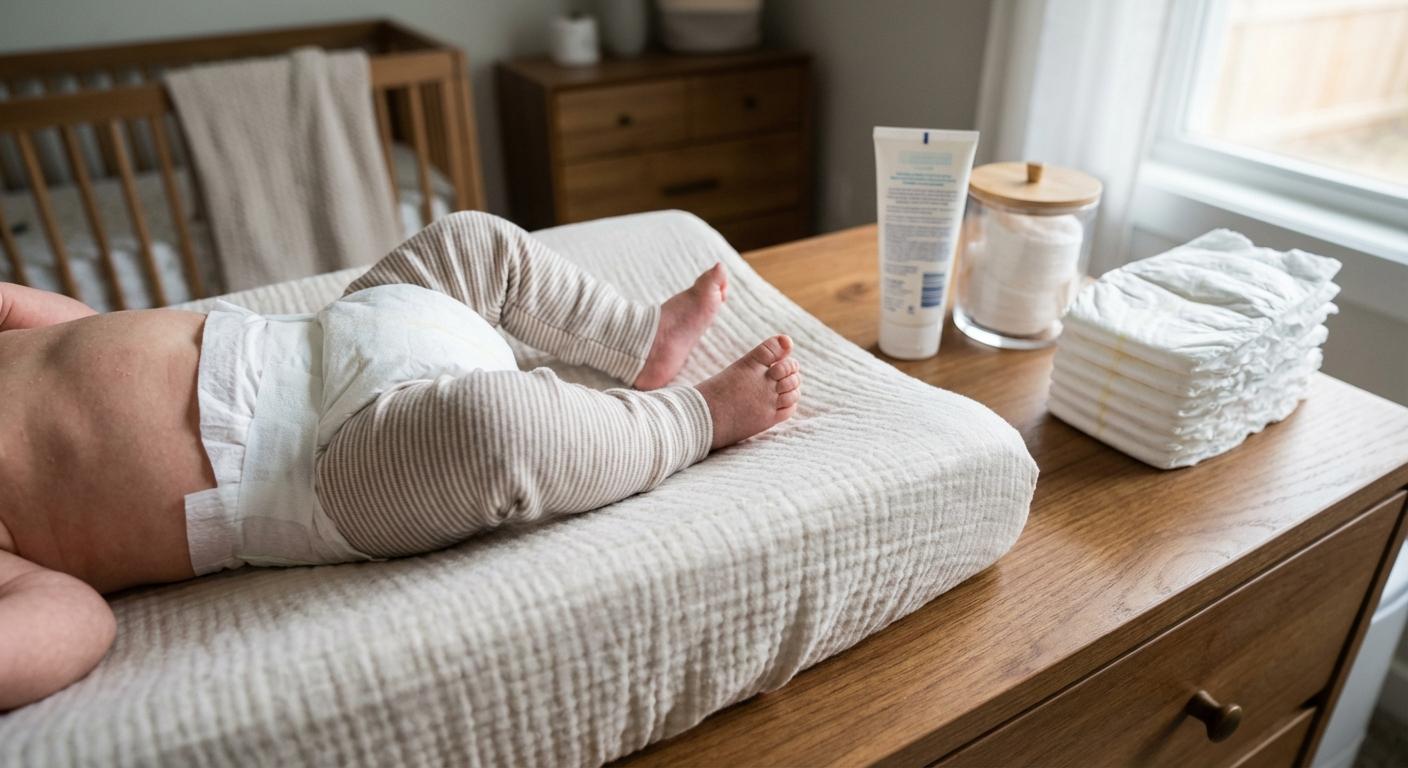
Supplies and a safe setup for diaper changes
A simple diaper change checklist at home
Keep essentials within arm’s reach:
- correct-size diapers
- fragrance-free, alcohol-free wipes or warm water + cotton/soft cloth
- soft towel/cloth for pat-drying
- barrier product if needed (petrolatum or zinc oxide)
- changing mat with wipeable cover
- disposal option (lined bin/diaper pail or bags)
Diaper size and fit (and the tight-clothes issue)
Fit matters as much as brand.
Quick check:
- waistband lies flat,
- tabs are even,
- two fingers fit under the waistband.
Too small gives deep marks and leaks. Too big gaps and leaks.
In many Indian households, tight bodysuits or leggings can compress the diaper and flatten leak guards, increasing back leaks at night.
Wipes, water, and soap for sensitive skin
- Warm water + soft cloth is often the gentlest.
- Wipes are practical outside, choose fragrance-free and alcohol-free.
- Soap only when stool is sticky. Use a very mild cleanser and rinse.
Creams and zinc oxide: what they do
- Petrolatum forms a simple moisture barrier.
- Zinc oxide paste is thicker and useful when redness is more visible or stools are frequent.
Keep layers visible but smooth. If cream “cakes,” remove gently with warm water, dry well, then reapply evenly.
Creating a safe changing station
Falls are the main avoidable risk.
- On bed/table: keep one hand on baby, keep supplies close.
- If rolling has started, floor changing on a mat is often safest.
- Keep the room warm, babies lose heat quickly when undressed.
How to do a diaper change step by step
1) Prepare first
Place clean diaper, wipes/water, towel, cream, and disposal bag within reach. Wash hands when possible.
2) Remove the dirty diaper neatly
Undo tabs. Fold the front inward. If there is poop, use the front of the diaper to lift off the bulk, then fold and keep it under the baby briefly to protect the surface.
3) Clean gently, in the right direction
After urine only: wipe gently, no scrubbing.
After poop: clean carefully, including folds.
- Girls: wipe front-to-back.
- Boys: clean penis and scrotal folds. Do not force the foreskin back, it is often not retractable in young children and pulling can cause micro-tears.
4) Dry well
Pat dry, especially in folds.
5) Add barrier when helpful
Use petrolatum for prevention or mild irritation. Use zinc oxide when redness is clearer. Apply a thin, even layer on clean, dry skin.
6) Put on the fresh diaper and check fit
Back waistband should sit high enough to cover the lower back. Fasten snug, not tight. Pull leg cuffs outward. Two fingers under waistband is a good check.
7) Finish and wash hands
Roll and secure the dirty diaper. Discard in a bag/pail. Clean the surface if soiled. Wash hands (or sanitise when outside, then wash later).
Hygiene and safety during every diaper change
Preventing falls
Never leave a baby unattended on an elevated surface, even for a second. If the baby is very wriggly, side-rolling can be easier than lifting by the ankles.
Hand hygiene
Handwashing before and after changes is ideal, especially after poop. On the go, adult hand sanitiser is a helpful backup.
Surface cleaning
If the surface is soiled, clean with soapy water, rinse, and dry.
Diaper change tips by age and situation
Newborns: meconium and delicate skin
Meconium (black, sticky first stool) clings. Use warm water and soft cloth, or fragrance-free wipes, then pat dry. Newborn skin is delicate, so avoid vigorous rubbing. Frequent diaper change reduces irritation.
Rolling babies: speed plus safety
- Set up first.
- Prefer floor changes.
- Use a small distraction.
- Pause if twisting happens and re-center with a hand on the torso.
Toddlers: standing changes
Standing changes can help with pull-up diapers. After poop, lying down is usually cleaner and helps you check folds.
A note on crying during a diaper change
Some babies protest because wipes feel cold, the room is cool, or they are hungry. Reflux can also make lying flat uncomfortable. Try warming the room a bit, using slow hands, and keeping the sequence predictable (babies respond to repetition). If crying suddenly becomes intense along with swelling, blisters, or a very angry-looking rash, speak to a clinician.
Can you do a diaper change too often?
Usually, no. Frequent cleaning is generally fine if you wipe softly, pat dry, and avoid repeated scrubbing. If skin starts looking more red with very frequent changes, friction is often the reason. For pee-only diapers, you can switch to water + soft cloth, and add a thin barrier layer to reduce rubbing.
Do you need cream at every diaper change?
Not always. Many babies do well without daily cream when skin is calm. A barrier is especially useful during diarrhoea, long travel, teething stools, antibiotics, daycare, or the first hint of redness. If you see product build-up, remove gently with warm water, dry fully, then reapply smoothly.
Nighttime diaper change and feeding timing
Night changes
Poop needs a diaper change. Urine only may not, if baby sleeps well and skin is healthy. Keep lights dim.
To reduce leaks:
- do a diaper change just before bedtime,
- ensure back waistband sits higher,
- consider a more absorbent night diaper.
Before or after feeding?
Before feeding can be comfortable and may reduce spit-up for some babies. After feeding makes sense if baby usually poops during/after feeds. If reflux is an issue, avoid big handling right after feeds unless there is poop.
Diaper change away from home
Simple travel kit
- diapers
- wipes or cotton + water
- portable changing mat
- disposal bags
- spare outfit for baby
- hand sanitiser
A preventive diaper change before long drives can reduce leaks. It also keeps baby comfortable in the car seat.
On-the-go hygiene
Use your own mat on public changing tables. Sanitise your hands after.
Car and stroller changes
Park safely, never change in a moving car. In a stroller, lock wheels and keep one hand on baby.
Diaper disposal and odour control
Disposal options
Lidded bin/diaper pail at home, emptied often. When outside, seal in bags. Cloth diapers can go into a wet bag and be washed regularly.
Odour-control habits
Close lids, empty frequently, wipe the pail and mat when needed.
Troubleshooting common diaper change problems
Leaks
- Check size and fit.
- Pull out leg cuffs.
- Avoid tight clothing compressing the diaper.
- For boys, point the penis downward.
If leaks happen mostly in the car, prolonged sitting compresses the diaper and reduces absorption, so liquid escapes at the easiest point.
Blowouts
Often suggests the diaper is too small or the back is too low. Consider sizing up and keeping the back waistband higher.
When to speak to a clinician
Seek medical advice if:
- rash lasts more than 2-3 days despite good care,
- redness spreads beyond the diaper area,
- you see blisters, oozing, crusting, pustules, or open sores,
- fever, poor feeding, unusual sleepiness, or significant pain,
- yeast is suspected (bright red rash in folds with satellite spots).
Caregiver comfort during diaper changes
Protecting your back
Keep the changing surface near elbow height, keep supplies close, and avoid twisting.
Keeping things calm
A predictable diaper change sequence, calm narration, and confident hands can reduce crying over time.
Key takeaways
- Diaper change protects skin by reducing moisture, friction, and contact with stool enzymes.
- Poop needs immediate cleaning, urine-only changes can be adapted to comfort and absorbency.
- Pat dry, especially folds, and use barrier creams when needed.
- Correct fit and non-tight clothing prevent many leaks.
- If rash persists or looks severe, speak to a clinician.
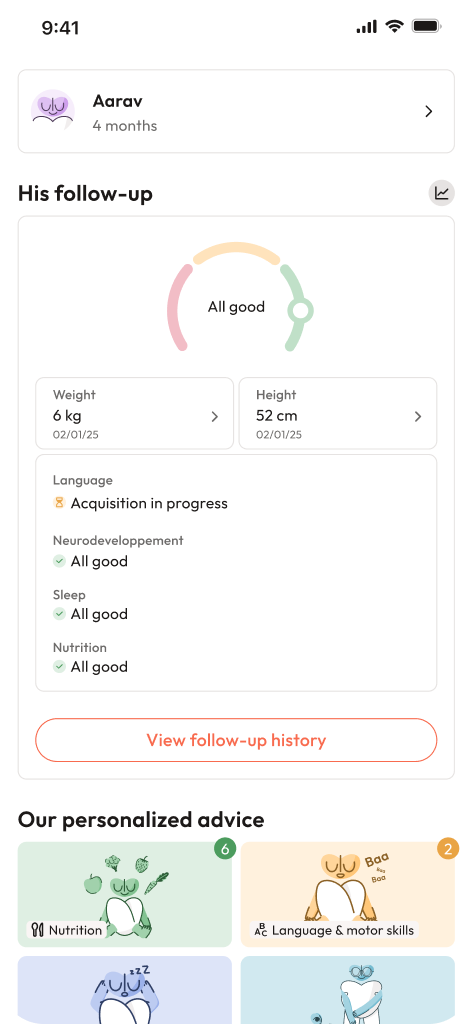
- For extra support, families can download the Heloa app for personalised tips and free child health questionnaires, anytime.
Further reading: