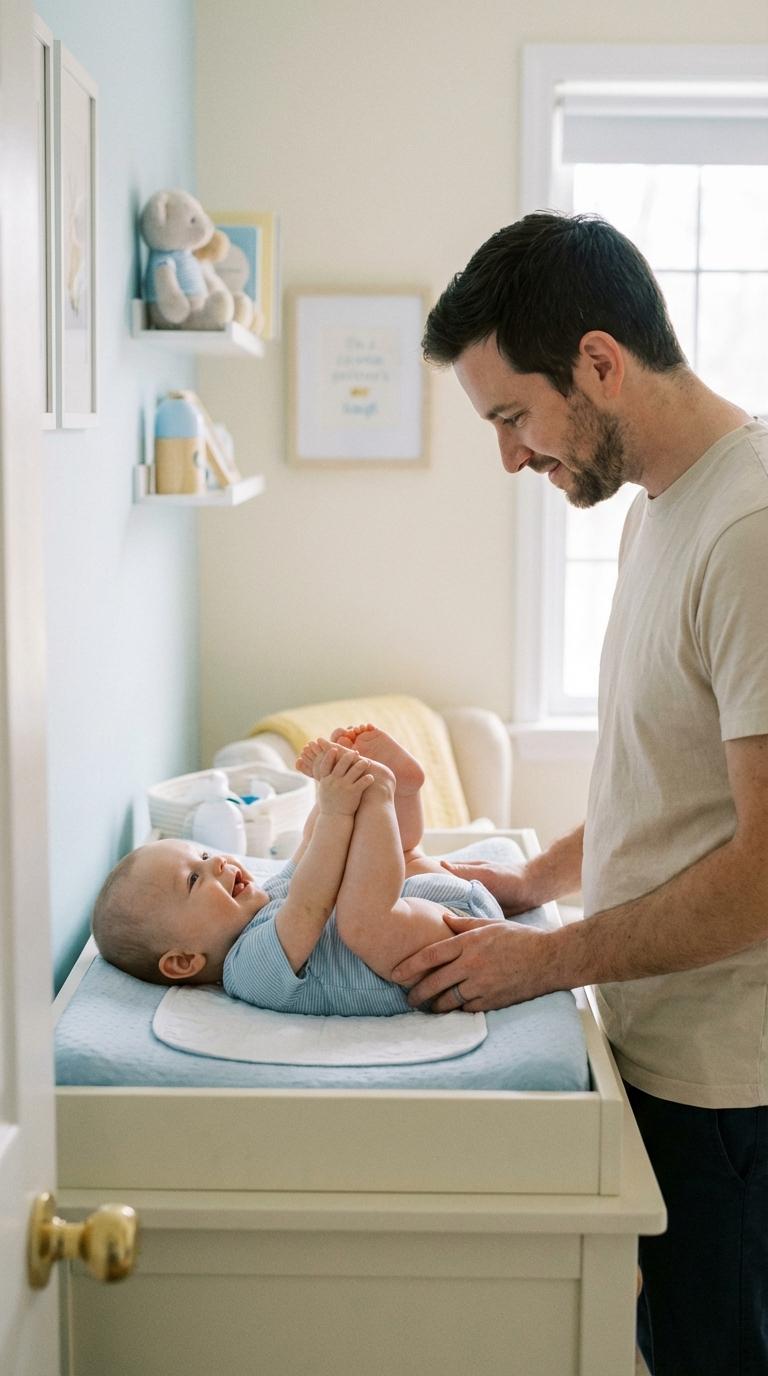
A diaper change can feel straightforward, until you see repeated leaks, a warm red patch on the bum, or a baby who starts wriggling the second they touch the changing mat. Then the doubts arrive fast: change after every pee? At night also? Cotton and warm water, wipes, cleansing gel, liniment… what is truly gentle for your baby’s skin in our day-to-day Indian routine, with heat, humidity, travel, and sometimes long commutes?
The aim stays simple: keep the diaper area clean, dry, and protected, without turning every diaper change into a rushed struggle. Frequency, products, technique, safety, and the warning signs that deserve medical advice all fit together.
Why technique matters: skin barrier, comfort, and hygiene
The skin in the diaper area is a protective barrier (it blocks excess water, germs, and irritants). In babies, that barrier is thinner and reacts quickly. When urine and stool stay on the skin, moisture builds up and softens the surface. This is called maceration (skin looks soggy). Add friction from wiping or a tight fit, and inflammation can start.
Stool is especially irritating because it contains digestive enzymes. These enzymes can damage the outer skin layer faster than many parents expect. The result may be redness, burning, tiny cracks, and sometimes a true diaper rash.

Comfort is not a small thing. A heavy diaper can pull, feel sticky in humid weather, and limit movement. Some babies then feed less calmly or resist sleep. A calm, predictable diaper change can become a reassuring rhythm.
How often to do a diaper change: practical ranges (no rigid clock)
There is no perfect timer. Your baby’s feeding pattern, stool frequency, skin sensitivity, and the absorbency of the diaper matter. These ranges are a helpful starting point:
- Newborns (0–3 months): often 6–10 diaper change sessions in 24 hours, usually every 2–3 hours, and after every stool.
- Babies (3–12 months): check regularly (often every 2–3 hours). Change when clearly wet, the indicator stripe changes colour (if present), the skin looks slightly pink, or after stool.
- Older babies (6–12 months): often every 3–4 hours, plus immediately after poop.
- Toddlers: often every 4–6 hours, and right away after poop.
A mildly wet diaper can sometimes wait briefly if the skin looks healthy and your baby is comfortable. A poop diaper should be changed as soon as reasonably possible.
Signs it’s time: simple cues you can trust
You may notice one or more of these:
- Wetness indicator stripe changes colour
- Diaper feels heavy, swollen, sagging, or uneven
- Smell, visible stool, or a small leak
- Early redness (especially in folds)
- Baby cues: fussing, arching, sudden discomfort, rubbing the diaper area
Repeated leaks are not “normal behaviour”. They usually mean size or fit needs adjustment.
Pee vs poop: your approach should change too
Pee-only diaper
Goal: remove moisture and residue, without over-wiping.
- Warm water + soft cotton pads or a clean cloth works well.
- When outside, fragrance-free, alcohol-free wipes are practical.
- Use a “press and lift” motion, avoid fast rubbing.
Poop diaper
Goal: clean wider, but still gently.
- Clean the buttocks, between the buttocks, groin folds, and upper thighs.
- If stool is sticky, a mild cleansing gel can help, remove residue afterwards.
- Dry by patting, not rubbing.
A small habit with big impact for sensitive skin: pat dry. Do not rub.
Nighttime diaper change: skin care without breaking sleep
At night, you are balancing skin comfort and rest.
- If your baby is sleeping and the diaper is only mildly wet, many families let the baby sleep (especially with a more absorbent night diaper).
- If there is stool or a leak, do a quick diaper change with dim light, slow movements, and minimal talking.
Some babies poop after feeding due to the gastrocolic reflex (a normal reflex). A quick check after a night feed can prevent “poop + long sleep” irritation.
Diaper change essentials: what to keep ready at home and while travelling
Must-have supplies
- Correct size diaper
- Warm water + cotton/soft cloth and/or fragrance-free wipes
- Waterproof changing mat (wipeable)
- Soft towel/cloth for drying
- Barrier product if needed (petrolatum or zinc oxide)
Cleaning choices: water, wipes, mild cleansing gel
- At home: warm water + cotton is often enough, especially for pee.
- On the go: pick wipes without alcohol, without fragrance.
- Mild cleansing gel: useful when stool is sticky or odour persists, remove residue so it does not irritate.
If unsure, choose what cleans well without triggering redness.
Protective care: liniment, barrier cream, zinc paste
Apply products only on clean, fully dry skin.
- Liniment (oil-lime liniment): can leave a protective lipid film on healthy skin, it does not replace cleaning.
- Barrier cream (often zinc oxide): helpful during diarrhoea, frequent stools, teething-related loose stools, or friction.
- Zinc paste: thicker, more covering when redness is present, spread gently in a generous layer.
On healthy skin, no product is compulsory.
Helpful extras for real life
- Sealable disposal bags + wet/dry bag for clothes
- Spare outfit
- Hand sanitiser for emergencies (wash hands properly when possible)
- A small toy/book for wriggly babies
- Dim nightlight for night changes
Setting up a diaper change station
Pick one stable surface, keep supplies within arm’s reach, and restock often. For early rollers, a floor-mat diaper change can be safer.
Diaper change safety: preventing falls
Falls can happen in seconds.
- Never leave your baby alone on an elevated surface, even with straps.
- Keep one hand on your baby during the diaper change.
- Keep supplies close so you do not need to step away.
- If you must move, take baby with you.
Hygiene basics: hands, surface, disposal
Handwashing
Wash hands with soap and water before and after when possible. When outside, hand sanitiser is a backup, then wash properly later. Stool can carry germs, so hand hygiene matters.
Cleaning the changing area
After poop changes, wipe and clean the surface. Overuse of harsh disinfectants can leave residues, a simple routine with a suitable cleaner is often enough.
Diaper disposal and odour
Seal dirty diapers (especially poop) in a bag before putting in a bin or diaper pail. Empty regularly. In public, carry it in a sealed bag until you find a dustbin.
Step-by-step diaper change routine (smooth and skin-friendly)
1) Prepare first
Hands clean, supplies ready, clean diaper open. This reduces the unsafe “just one second” turn-away.
2) Position baby safely
Baby on back on a stable surface, keep one hand in contact. Eye contact and a calm voice can help.
3) Remove the dirty diaper
Open tabs, fold the front down, use the inside of the diaper to remove bulk stool, then fold it onto itself.
To lift hips, avoid pulling hard on ankles. A gentle side-roll can be more comfortable.
4) Clean gently (pee vs poop)
- Pee: warm water + cotton, including folds.
- Poop: clean wider (buttocks, folds, upper thighs). Add mild cleansing gel if needed, remove residue.
Girls: wipe front to back to reduce germ movement toward the vulva/urethra.
Boys: clean the groin and the folds under the scrotum, where moisture can stay.
5) Dry fully, then protect if needed
Pat dry, especially folds. Apply barrier only on dry skin.
- Healthy skin: no product required.
- Red/irritated: barrier cream or zinc paste in a generous layer.
A short diaper-free pause can help the skin dry.
6) Put on a clean diaper and reduce leaks
Fasten evenly.
- Pull leg cuffs outward.
- Snug but not tight (two fingers at waistband).
- For boys, point the penis downward before fastening.
Frequent leaks or deep marks suggest size/fit needs change.
7) Finish
Dispose, clean the surface if needed, and wash hands.
Newborn specifics: early skin and umbilical cord stump
Newborn skin is thin and reactive. Warm water and minimal-ingredient wipes or cotton are often best.
Keep the umbilical cord stump clean and dry. Fold the diaper down (or use a notched diaper) so the waistband does not rub. Seek advice if you see spreading redness, swelling, pus, or foul smell.
Intimate hygiene: girl and boy specifics
For girls
Front-to-back cleaning lowers the risk of urinary infections. Clean folds gently.
A temporary whitish discharge in newborn girls can occur due to maternal hormones. Gentle hygiene is enough.
For boys
Clean externally: penis, base, and folds under the scrotum.
Do not force foreskin retraction. In many babies the foreskin is naturally adherent, forcing can cause tears.
Preventing surprise urine sprays
Cool air can trigger peeing:
- Open the diaper and wait a few seconds.
- Place a cotton pad on the lower belly.
- Use the clean diaper briefly as a shield.
Preventing diaper rash: habits that protect the skin
Early appearance
Redness often begins on contact areas: buttocks, groin folds, around the anus. Skin can look shiny or warm, baby may react during cleaning.
Common causes
- Prolonged moisture
- Friction (fit issues)
- Stool left on skin, especially diarrhoea
- Irritating products
- Cleaning that is too vigorous
Sometimes Candida (yeast) overgrows on top of irritation. It can look very bright red, involve folds, and show small “satellite” spots. This may need an antifungal suggested by a clinician.
Simple routine when skin turns red
1) Clean gently
2) Dry thoroughly
3) Protect with a barrier layer
Increase diaper change frequency temporarily, especially after stools.
Leaks and fit problems: what to check first
Leaks are usually mechanical:
- Diaper too small (compression leaks, deep marks) or too big (gaps)
- Leg cuffs tucked in
- Tabs uneven
- For boys, penis pointing upward
Quick fit checks:
- Two fingers at waistband
- Leg cuffs fully out
- Back rises high enough
- If cord stump present, fold the diaper down
For night leaks, consider a more absorbent night diaper, sometimes a size up helps depending on body shape.
Diaper change in public and on-the-go
Pack: diapers (extras), wipes, portable mat, disposal bags, hand sanitiser, barrier cream, spare outfit.
Use a stable surface and place a barrier under baby. In the car, change only when parked on a flat surface. Outdoors, choose a clean, sheltered spot.
Seal waste and leave the space clean.
Cloth and eco-friendly diaper change options
The steps remain the same: remove, clean, dry, re-diaper.
Cloth diapers go into a wet bag or pail until wash day, liners can help with poop cleanup. Cloth reduces trash but increases laundry needs, disposables are convenient for travel and daycare. Many families use both.
When to contact a healthcare professional
Seek advice if:
- Redness lasts several days despite gentle care and frequent diaper change
- Skin oozes, bleeds, becomes very painful, or lesions spread
- You suspect allergy (rash after a product, significant itching)
- Fever, unusual sleepiness, or baby seems unwell
- Significant diarrhoea, blood in stool, or dehydration signs (dry mouth, fewer wet diapers, unusual drowsiness)
To remember
- A steady diaper change routine supports comfort, hygiene, fewer leaks, and healthier skin.
- Change promptly after stool, pee-only diapers may sometimes wait briefly if skin looks healthy.
- Clean gently, pat dry, and use a barrier only when needed.
- Fit prevents mess: correct size, leg cuffs out, tabs even, and for boys, point the penis downward.
- Safety first: keep one hand on baby and never leave baby alone on an elevated surface.
- If redness persists, worsens, or looks unusual (especially in folds with satellite spots), contact a health professional.
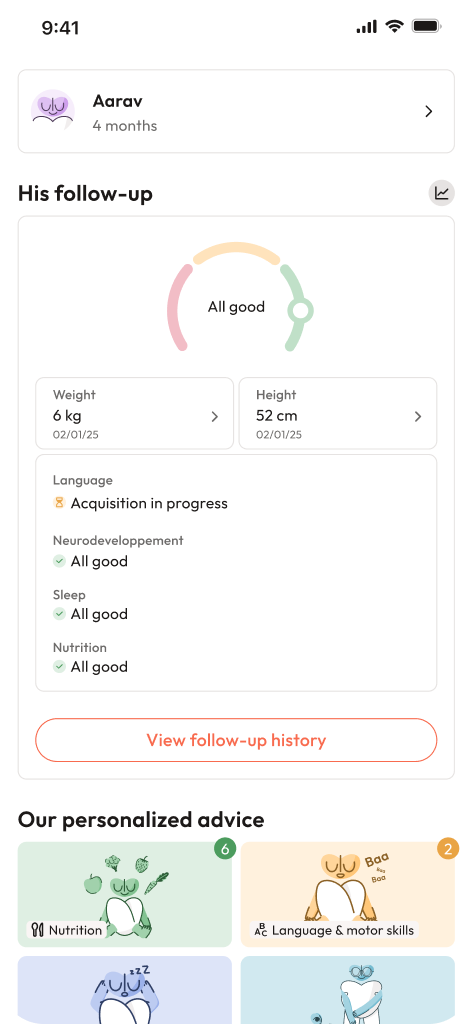
- Support exists, and you can download the Heloa app for personalised tips and free child health questionnaires.

Further reading :