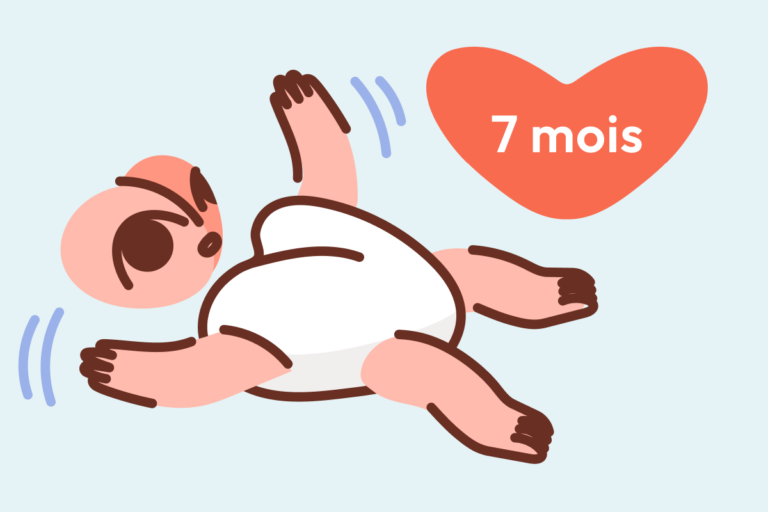
Those tiny hands look innocent, until you notice the fine red line on a cheek. Cutting baby nails quickly becomes one of those early-care tasks that feels simple on paper and surprisingly tense in real life. Newborn nails can be thin like paper, yet sharp like a little blade, babies also move with reflexes (startle, grasp), not intention, so scratches can happen during feeding, cuddles, or sleep.
The good news? With the right timing, a stable hold, and baby-safe tools, cutting baby nails can be calm, fast, and safe. You will also see when filing is enough, why toenails are a different story, and what to do if you nick the skin.
Why cutting baby nails matters for comfort and safety
Preventing face and eye scratches
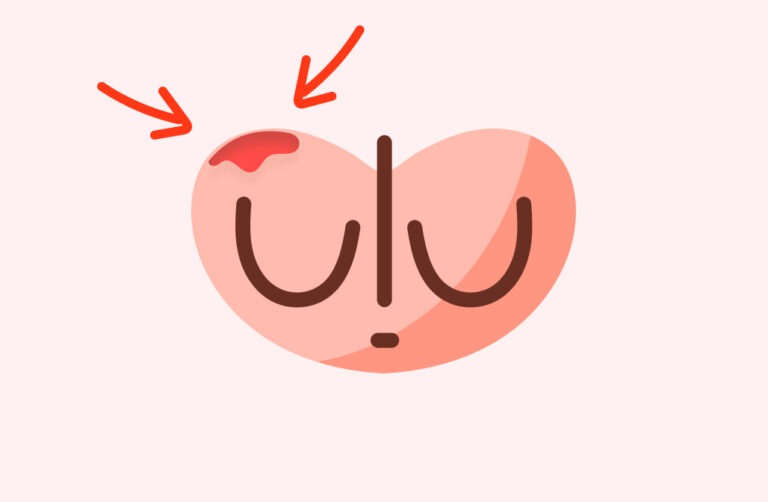
Newborn fingernails often extend past the fingertip from day one. Their free edge (the white part) can be jagged, and a single reflex swipe can leave a scratch, especially near the eyelids, where skin is thin and richly vascularized.
Keeping nails short and smooth reduces:


- cheek and eyelid scratches
- snagging on clothing or swaddles
- rubbing that worsens irritation on sensitive skin
Lowering irritation and infection risk from broken skin
A scratch is usually superficial, but any skin break is a doorway. Bacteria that normally live on skin (like Staphylococcus) can enter more easily if the area is repeatedly scratched. Long nails also trap debris underneath, which can inflame the nail fold (the skin bordering the nail).
The goal of cutting baby nails is not “perfect symmetry.” It is a smooth edge that does not catch and does not scratch.
When to start trimming baby nails (and what to do before the first trim)
If nails are long at birth: what you can do right away
If the nails are already scratching, you can act immediately, gently.
Early options that many parents tolerate better:
- a fine baby nail file to soften the edge
- very gentle peeling only if the tip is clearly lifting (never force)
If you choose cutting baby nails from the first days, keep it minimal: remove only the sharp overhang.
Why the first weeks can feel tricky: soft nails that still “stick” to the fingertip
In the first weeks, the nail plate (keratin) can be flexible and partly adherent to the fingertip pad. That makes it feel as if nail and skin are “one piece.” You may hesitate, and that hesitation is normal.
Many families find cutting baby nails becomes easier around 3–6 weeks, when the nail separates a bit more and firms up.
Newborn first days: when gentle peeling or filing can be enough
If the nail is paper-thin, filing can be the calmest route. Short strokes along the free edge can remove the scratchy feeling without the stress of a blade.
Peeling can work only when:
- the tip lifts effortlessly
- you peel away from the skin, not toward it
- you stop at the first resistance
How often to trim: a realistic rhythm without pressure
Fingernails vs toenails: typical needs
Fingernails often need attention more frequently than toenails. They grow faster and are the main cause of facial scratches. Toenails are thicker, slower-growing, and usually less urgent.
A simple cue: if you can see the nail tip past the fingertip, or it catches fabric, it is time for cutting baby nails (or filing).
A simple routine that’s easy to maintain
Try a low-pressure rhythm:
- quick visual check about once a week
- file if the edge is only slightly rough
- trim if the nail clearly overhangs or snags repeatedly
Finding the best moment to trim
Choose calm over “perfect timing”
There is no magic hour. The best moment is when your baby is relaxed and you can see well.
Often helpful moments:
- after feeding (drowsiness helps)
- shortly after waking, when baby is calm
- during a nap, if you feel steady and have good light
Is your baby wiggly today? Split it up. Two nails now, the rest later. If you have two adults available, one can stabilize and soothe while the other focuses on cutting baby nails.
After a bath: not always the easiest option
You may hear that post-bath trimming is easier. Warm water hydrates keratin and can make nails very soft. A very soft nail may bend and tear rather than cut cleanly.
What matters more than bath timing:
- stable positioning
- bright lighting
- a tool that does not block your view
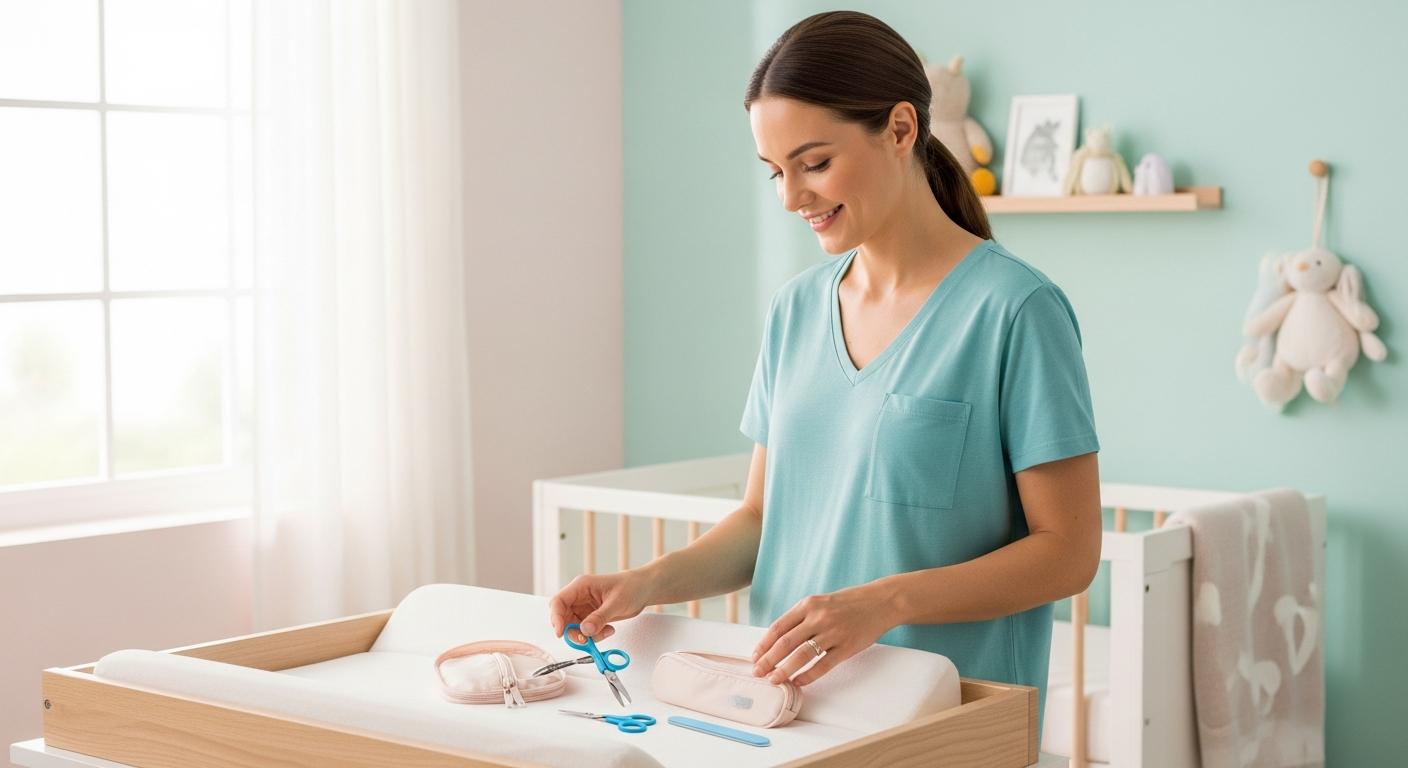
Choosing the right tools for baby nails
File, scissors, or clippers: which tool at which stage?
There is no single “best” tool, the safest tool is the one you control well.
- Baby nail file (fine grit): excellent early on for smoothing and preventing snagging
- Rounded-tip baby nail scissors: useful for tiny, progressive snips
- Baby nail clippers: often easier once nails are firmer (many babies around 3–6 months), provided you can clearly see the nail–skin border
Electric baby trimmers can suit some families. Use low speed and very light pressure.
What makes a tool feel safer in real life
Look for:
- baby-sized blades/jaws
- non-slip grip
- rounded tips (scissors)
- stainless steel for easier cleaning
- a design that keeps the nail edge visible
A practical habit: keep a dedicated baby nail kit.
Hygiene: small steps that make a difference
Clean hands and clean tools
Wash your hands with soap and water. Clean tools with mild soap and water, then dry thoroughly. Set up your area before you start: light, file, clean gauze, so you are not searching mid-trim.
Preparing a safe, calm setup
Positioning options that improve control
Good options:
- baby on your lap, back supported against your torso
- baby in your arms, with your forearm supporting the hand you are trimming
- a stable changing surface with continuous supervision
Support the wrist or ankle, then guide one finger or toe at a time.
If baby resists: what to try, and when to stop
Try:
- a calm voice or humming
- a pacifier if used
- a toy in the other hand
- a second adult to distract and stabilize
If tension rises, stop. Rushed cutting baby nails increases the chance of a nick.
While baby is asleep or very drowsy
Sleepy babies move less. Use soft but adequate light. Rest your wrists on something firm to reduce shaking.
How to trim baby fingernails safely
Hold the finger and gently move the fingertip pad away from the nail edge
Hold one finger between your thumb and index finger. With your thumb, press the fingertip pad slightly down and away from the nail edge. This creates a small gap, helping you cut nail, not skin.
Small, controlled snips: avoid cutting too short
Trim only the free edge (the white overhang). Use several small snips rather than one large cut, and follow the natural curve.
Leave a tiny margin.
Smooth the edge and manage hangnails without pulling
File lightly to smooth.
If there is a hangnail (a small torn strip of skin): trim it carefully with clean scissors. Do not pull.
Do not cut the cuticles
The cuticle acts as a barrier. Cutting it can increase irritation and infection risk.
How to trim baby toenails safely
What’s different about toenails compared to fingernails
Toenails are often thicker and less flexible. Toes wiggle in bursts, so stable positioning matters.
Trim straight across to reduce ingrown nail risk
Trim toenails straight across. Avoid digging down the sides or deeply rounding corners.
Finishing touches for comfort
If an edge is sharp, file it gently. After cutting baby nails on the toes, check socks and booties: tight fabric can press the nail edge into the skin.
Pause and reassess if you see redness, swelling, tenderness, or drainage.
Newborn nails: peeling and filing as gentle alternatives
When peeling the soft nail ends can work
Use clean hands, peel only what separates effortlessly, and stop immediately if resistance appears.
How to file safely if trimming feels stressful at first
Use a fine baby emery board and file gently in one direction. Keep the finger supported. Short, frequent sessions often feel easier than one long attempt at cutting baby nails.
When to transition to scissors or clippers
As nails firm up (often after a few weeks), switch to scissors or clippers, still trimming only the tip, then smoothing.
Common mistakes and how to avoid them
Cutting too short or trimming in poor light
Use bright light, go slowly, and take tiny snips. If you cannot see clearly, wait.
Using adult, oversized, dull, or slippery tools
Oversized tools block your view and reduce precision. Dull blades require more pressure and can slip. Baby-sized tools improve control during cutting baby nails.
Rounding toenail corners too much
Trim straight across first, soften only the very edge if needed.
Skipping the file and leaving snagging edges
A quick file after trimming can prevent scratching and fabric catches.
If you accidentally cut the skin
Stop bleeding with gentle pressure
Apply steady pressure with clean gauze or a clean cloth for several minutes.
Clean and protect the area
Rinse with clean water, wash gently with mild soap, then pat dry.
When to seek medical advice
Seek medical advice if:
- bleeding does not stop after 10–15 minutes of steady pressure
- the cut looks deep
- increasing redness, warmth, swelling, discharge, fever, or unusual sleepiness appears
Troubleshooting nail and skin issues
Nails are too soft to cut cleanly or keep tearing
Switch to filing for a few days and trim only tiny amounts.
Jagged edges, snagging, and recurring hangnails
File jagged edges and trim hangnails, never pull. If the skin around nails is dry, a gentle fragrance-free moisturizer after baths may help.
Early signs of irritation, infection, or ingrown toenails
Watch for persistent redness, warmth, swelling, tenderness, or discharge.
For toes, possible ingrown signs include pain at the side of the nail and a small swollen ridge. Avoid digging into the corner yourself, if discomfort persists, seek medical advice.
Special situations that may need extra care
Premature babies: extra-fragile nails
For premature babies, filing is often gentler than clipping at first, and very short sessions help.
Eczema or very sensitive skin around the nails
Prioritize smooth edges. Filing may be less irritating than clipping. Moisturizing the surrounding skin can support the skin barrier.
Thick or very curved nails: go slowly
Trim in small steps and file to smooth. If a nail repeatedly presses into skin or causes redness, seek medical advice.
Aftercare and building a low-stress routine
Keep nails smooth between trims
A quick check every few days catches sharp edges early. Light filing can reduce the need for frequent cutting baby nails.
Scratch mittens: when they can help (and their limits)
Mittens can reduce facial scratches during sleep while you build confidence. They are not a replacement for nail care.
A calm routine you can repeat
Keep a small kit in one place. Choose a predictable moment, use good light, and aim for short sessions.
Key takeaways
- cutting baby nails reduces facial scratches and helps protect fragile skin.
- Early on, nails can be soft and partly adherent to the fingertip, filing (and sometimes gentle peeling) may be easier at first.
- Choose baby-sized tools you can control, keep them clean, and prioritize good lighting and stable support.
- Fingernails: small snips following the curve, then file, toenails: trim straight across to reduce ingrown nail risk.
- Do not cut cuticles. If you nick skin, apply steady pressure and watch for infection signs.
- For tailored guidance and free child health questionnaires, you can download the Heloa app and contact health professionals when needed.
Questions Parents Ask
Can I bite or peel my newborn’s nails instead of trimming?
It’s understandable to look for the quickest option, especially in the first days. Still, biting or peeling can leave a ragged edge that scratches more, and it may create tiny tears in the skin around the nail. That can be uncomfortable and raises irritation risk. If nails feel too soft to trim, a fine baby nail file is often the gentlest way to smooth sharp tips without stressing you or your baby.
What if I’m too scared to cut my baby’s nails?
Many parents feel tense at first—those little fingers are small, and baby movements are unpredictable. You can build confidence gradually: start by filing just one or two nails, in good light, when your baby is calm or sleepy. If clipping feels more manageable, try tiny snips rather than one big cut. Resting your hands on a stable surface can also reduce shaking. No pressure to do it all at once.
Is an electric baby nail trimmer safe for newborns?
For many families, electric trimmers feel reassuring because they smooth rather than “cut.” Used gently (low speed, light pressure, short sessions), they can be a safe option, especially when nails are thin and flexible. As with any tool, it’s best to stop if skin looks irritated, and to clean the attachment after each use.

Further reading: