Earwax on a tiny ear can look worrying—especially when you spot a yellow smear near the opening, a damp crease behind the ear, or dried milk collecting after feeds. With cleaning baby’s ears, the safest routine is usually the simplest one: clean the parts you can see, keep the ear canal untouched, and watch for signs that need a doctor’s opinion.
Parents commonly wonder: should wax be removed fully, is ear pulling always infection, and are cotton buds ever safe. The answers are reassuring, but they do need a little anatomy and a few ground rules.
Cleaning baby’s ears at a glance: what you can do safely
What to prepare for a calm, safe clean
Choose a time when your baby is fed and settled—many families find after a bath works well because residue softens.
Keep ready:

- Warm water (check on your wrist)
- A soft muslin cloth/washcloth or cotton pad
- Optional: sterile gauze for small creases
- A dry towel for pat-drying
Set everything within arm’s reach. If you have to reach for items mid-way, the head can turn suddenly and you may slip.
Where to clean: only what you can see
For day-to-day cleaning baby’s ears, stick to visible skin:
- the outer ear (pinna)
- the folds and creases (milk, cream, sweat, lint)
- the skin behind the ear (often stays damp)
- the very entrance of the ear canal only if wax is clearly on the surface
If you can’t see it, don’t clean it. The ear canal stays off-limits at home.
When to pause and try later
If your baby turns away, cries, arches, or stiffens, pause and try again later. Forcing it raises the chance of scratching delicate skin.
Also stop if you notice marked redness, tenderness, swelling, or any discharge. Those are signals to observe and, if they continue, seek medical advice.
Baby earwax (cerumen): what it is and why it matters
Baby ears are not “small adult ears”
A baby’s ear canal is short and narrow, and the canal lining is thin and easily irritated. The eardrum is relatively close. Even a small inward movement plus a sudden head turn can cause injury.
This is why safe cleaning baby’s ears means staying strictly on the outside.
Earwax is protective, not dirt
Earwax (cerumen) is a mix of skin cells and oily secretions. It:
- lubricates the canal (less friction)
- traps dust and particles
- supports natural antimicrobial protection
The ear also has a built-in self-cleaning mechanism: canal skin migrates outward slowly, and jaw movement (feeding, babbling, chewing later) helps wax travel towards the opening.
So, most babies do not need the inside of the ear washed.
Normal wax vs a buildup that can trouble babies
Normal wax can be pale yellow to brown, dry or sticky.
Wax becomes a concern when it seems to block the opening repeatedly or when symptoms appear. Babies won’t complain of blocked ears, so you may notice:
- increased irritability when the ear is touched
- scratching or frequent rubbing
- reduced response to sound or familiar voices
These signs can have other causes too, but they do deserve a check.
Outer ear vs ear canal: what’s safe at home
The outer ear is skin—safe to wipe gently. The ear canal is delicate, inserting anything can:
- scratch the canal and cause bleeding
- push wax deeper and cause impaction (a wax plug)
- irritate the lining and trigger otitis externa (canal inflammation)
- in rare cases, injure the eardrum
So, keep home cleaning baby’s ears limited to what’s visible.
When cleaning helps (and when less is better)
As-needed outer cleaning vs routine “deep cleaning”
Outer-ear cleaning helps when you see:
- wax at the entrance
- dried milk behind the ears
- sweat and residue in the creases
Routine deep cleaning inside the canal is not needed and often causes problems.
Why wax often clears on its own
Because wax is meant to move outward, it frequently reaches the entrance naturally and can be wiped during normal bathing.
When home cleaning becomes counterproductive
Trying to remove wax from inside the canal often:
- pushes it deeper and creates blockage
- makes the canal lining sore
- strips protective wax, leading to dryness and itch
If you notice redness, flaking, or your baby resisting ear touch more after frequent attempts, scale back.
Safety rules for gentle ear care
Keep the ear canal off-limits
For cleaning baby’s ears, nothing should go into the ear canal:
- no cotton buds
- no fingers
- no “ear pick” tools
Only clean what you can see.
Cotton buds: why they are risky
Cotton buds often push wax inward and compact it into a plug. Even “baby” buds with a guard can still compress wax and irritate canal skin. Add a sudden baby movement, and injury risk rises.
Avoid improvised objects and ear candles
Rolled tissues, tweezers, hairpins, and online “wax remover” tools can cause tiny cuts and invite infection. Ear candles can burn and do not have proven benefit.
Avoid irritating liquids unless a clinician prescribes
Avoid alcohol, hydrogen peroxide, antiseptics, and essential oils in or near a baby’s ear. They can irritate or chemically burn delicate skin. Also avoid home irrigation in infants.
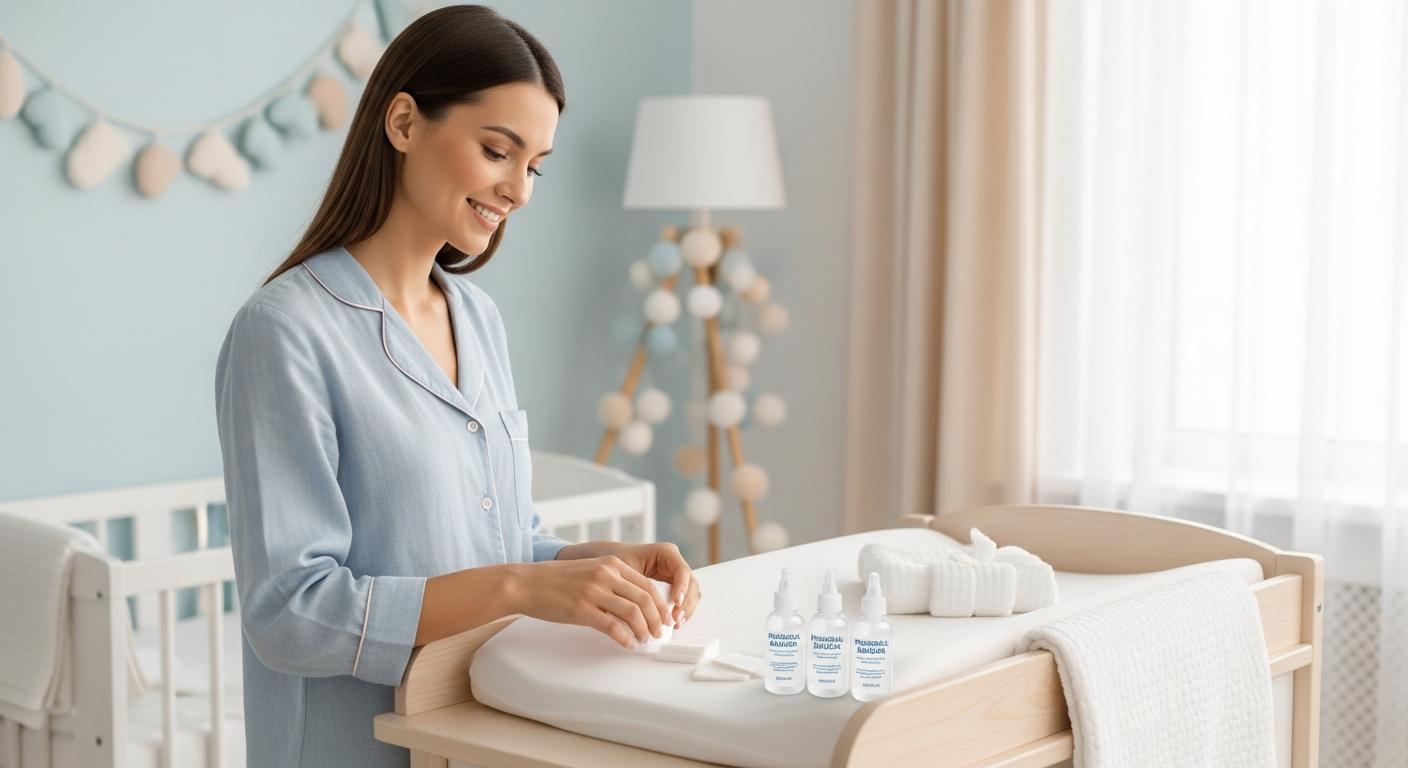
Best methods parents can use at home
Warm, damp cloth (outer ear only)
A warm, damp cloth is the most reliable method for cleaning baby’s ears. Wring it well so water doesn’t drip towards the canal.
Sterile gauze/cotton pad for creases (saline for skin residue)
For small folds, sterile gauze is useful and less linty. You can moisten it with saline to loosen residue on skin. Saline helps on the surface, it does not clear a true wax plug.
Wipe visible wax at the entrance—no digging
If wax is clearly visible right at the opening, wipe it gently outward. If it doesn’t come off easily, stop and leave it for another day.
Dry well—especially behind the ears
Moisture behind the ears can macerate skin (soften it and make it sore). After cleaning baby’s ears, pat dry the outer ear, folds, and behind-the-ear crease.
Step-by-step: how to clean baby ears safely
1) Set up safely
Use a stable surface and good light. Keep one hand steadying your baby’s head.
2) Clean the outer ear
Use short, light wipes—no scrubbing.
3) Clean folds and creases briefly
Trace folds with a damp cloth, cotton pad, or moistened gauze.
4) Clean behind the ear
Wipe gently with warm water (or saline on gauze if needed), then dry carefully.
5) Clean only what is visible at the entrance
If it’s visible on the surface, wipe it away. If not, leave it.
6) Aftercare
Pat dry. Over the next day, watch for increasing redness, rash, tenderness, or changes in comfort.
Common situations: what to do (and what to avoid)
Visible wax at the entrance
- Do: wipe what’s visible with warm water or saline on gauze.
- Avoid: trying to pull wax from deeper inside.
Crusts around the ear or behind the ear
Crusts may be dried milk, dermatitis, or irritation.
- Do: soften with a moistened pad for a few seconds, then lift gently.
- Avoid: picking or scratching. If eczema-prone, patting often feels better than rubbing.
Sensitive skin, dermatitis, or eczema behind the ears
Reduce friction. Clean gently and dry well. If there is oozing, pain, worsening redness, or a bad smell, seek medical advice.
Water in the ear after bathing
Tilt your baby’s head to the side and let water drain naturally. Towel-dry the outer ear only. Do not insert anything to “absorb” water inside the canal.
Teething and ear pulling: how to read the sign
During teething, some babies tug at the ears because jaw discomfort can feel like it spreads towards the ear area. Ear pulling by itself does not confirm infection.
Look for extra signals: fever, strong irritability, disturbed sleep for many nights, discharge, or obvious pain on touch. If those appear, get your baby checked.
Flaky skin behind the ear: common triggers
Flaky or slightly red skin behind the ears is common with drool, milk, sweat, or cradle cap. Clean with warm water, pat dry, and, if needed, apply a thin layer of fragrance-free emollient on the outer skin only.
If you notice oozing, increasing redness, tenderness, or bad odour, medical advice is sensible.
Oils and “baby ear sprays”: be cautious
Some people suggest oil to soften wax. In young babies, avoid putting anything into the canal without medical advice, what’s suitable depends on the canal skin and the eardrum.
How often to clean and how to avoid overdoing it
A practical rhythm
Most families manage well with:
- a gentle outer-ear wipe during bath time
- behind-the-ear cleaning as needed (drool, milk, sweat, hot weather)
More frequent cleaning baby’s ears can mean more dryness and irritation.
Let observation guide you
- 0–3 months: outer ear/behind ears as needed, canal entrance only if something is visible (often once or twice weekly).
- 3–12 months: same approach, keep it superficial.
- After 1 year: self-cleaning still applies, stay outside-only.
Signs you may be cleaning too often
Redness, flaking, dryness, cracking, or your baby acting uncomfortable when you touch the ear can mean you are overdoing it.
Signs of earwax buildup and other ear problems
Possible wax plug: how it can look and how baby may behave
A wax plug is more likely when wax looks compact near the opening and your baby shows possible hearing changes (less startle, less turning towards voices). Some babies feel more uncomfortable after a bath because wax can swell with water.
Ear pulling and fussiness: not always an ear issue
Ear touching can be exploration, tiredness, overstimulation, or teething. Look for the bigger picture: fever, persistent night-time discomfort, obvious pain on touch, strong odour, or discharge.
Odour, marked redness, pain, discharge, or fever
Earwax should not cause strong odour or significant pain. An unusual smell, hot red swelling, pain on touch, discharge (clear/yellow/green), bleeding, or fever needs assessment.
When to see a paediatrician
Persistent wax you cannot manage safely from the outside or suspected blockage
If wax keeps building at the opening, seems to block the canal, or you worry hearing is affected, a paediatrician can examine with an otoscope and decide if removal is needed.
If you notice reduced response to sound for several days, it’s worth a check. Earwax can block the canal, but fluid behind the eardrum after a cold can also reduce hearing temporarily.
Seek prompt care for red flags
Seek medical advice promptly if there is:
- pain or crying when the ear is touched
- a red, hot, swollen ear
- discharge, bleeding, or strong/unusual odour
- fever
- hearing seeming worse after a cleaning attempt
- concern that something entered the ear canal
Professional ear cleaning for babies: what to expect
Why clinicians handle ear canal cleaning
When wax is impacted or symptoms suggest blockage, clinicians remove wax under direct vision, which is safer for infants.
How a wax plug may be removed
Depending on the situation, a clinician may use gentle suction, a medical curette, or irrigation with appropriate equipment (only when suitable). Sometimes wax-softening drops are prescribed beforehand.
To remember
- Earwax is normal and protective, baby ears usually self-clean.
- Safe cleaning baby’s ears means wiping the outer ear, folds, and behind the ear, nothing goes into the ear canal.
- Warm water, a soft cloth, optional sterile gauze, and careful drying are generally enough.
- Cotton buds, tools, ear candles, and irritating solutions increase the risk of blockage and injury.
- Pain, marked redness, fever, discharge, strong odour, or suspected hearing changes deserve medical advice.
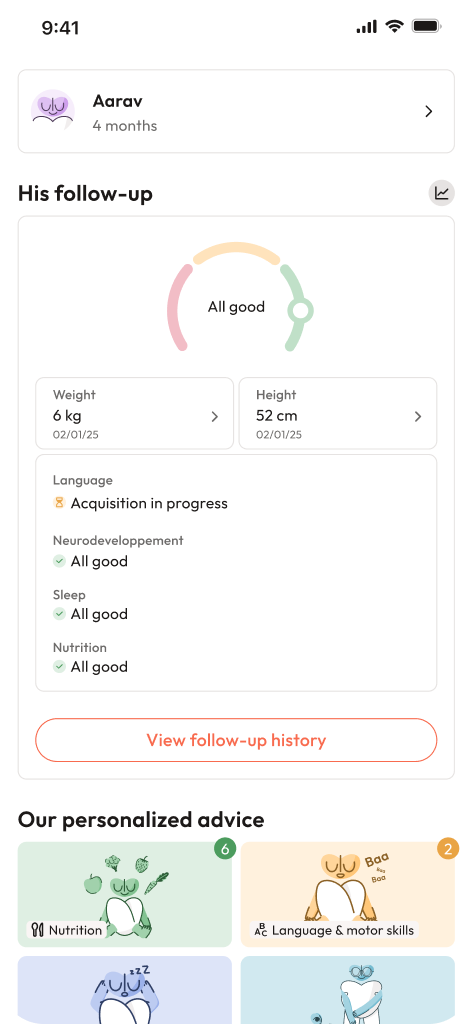
- Support exists if you want personalised guidance: download the Heloa app for tailored tips and free child health questionnaires.
Further reading: