Homemade baby food can trigger two thoughts in the same breath: “I want to feed my baby well” and “I don’t have the bandwidth for complicated prep.” That tension is normal. The reassuring part? Safe, nourishing homemade baby food is mostly about a few steady habits (clean hands, correct cooking, age-appropriate textures, and smart storage), not about fancy gadgets or perfect recipes.
Why many parents choose homemade baby food
Homemade baby food isn’t only a budget decision. It can feel like taking the steering wheel for a while: you choose the ingredients, you control added salt and added sugar, and you can adapt meals to reflux, constipation, family culture, or a suspected intolerance.
A second benefit is variety. Repeated, low-pressure exposure to different tastes (bitter greens, earthy legumes, tart fruits) helps build familiarity over time.
And yes, nutrition matters. Early complementary feeding is a good moment to focus on iron-rich foods (meat, lentils, beans, fortified cereals) and add healthy fats (avocado, olive oil, full-fat yogurt) for energy density.


Homemade baby food vs store-bought: a calm, realistic view
Store-bought baby foods are regulated, portable, portioned, and often very useful. Homemade baby food brings flexibility with textures and ingredients.
Many families combine both. Homemade on quieter days, store-bought when travel, sleep deprivation, or work takes over. What counts is safety, variety, and a feeding rhythm your baby can tolerate.
When to start solids (readiness beats the calendar)
Many babies begin solids around 6 months, but readiness signs are more informative than the date.
Look for:
- steady head and neck control
- sitting with minimal support
- interest in food (watching, reaching)
- opening the mouth for the spoon
- ability to move food back and swallow (less tongue-thrust)
Breastmilk or formula remains the nutritional base early on, solids are practice: skills, flavors, textures.
Purees, finger foods, or a mix?
You may be wondering which path is “best.” There isn’t a single right lane.
- Purees help practice swallowing and can be reassuring at the start.
- Finger foods (baby-led style) can encourage self-feeding, hand-to-mouth coordination, and curiosity.
- A mix often feels most sustainable: a spoon-fed puree plus a soft finger food on the tray.
Keep your baby upright in a high chair, stay close, and let pace be gradual.
Homemade baby food textures: how to progress without stress
Texture is not a detail. It’s neuromuscular learning: tongue lateralization, jaw stability, chewing practice, and safe swallowing.
Around 6-8 months: very smooth purees
Aim for a silky texture. Single-ingredient homemade baby food (carrot, pear, sweet potato) makes it easier to notice reactions and preferences.
You can thin with breastmilk, formula, or water.
Around 8-9+ months: thicker purees, mashed foods, soft finger foods
Move from blender to fork. Small, soft lumps are “chewing training.” Add soft finger foods your baby can grasp: cooked vegetable sticks, ripe avocado strips, very soft fruit.
Around 9-12 months: mixed textures and more variety
Many babies can handle mashed meals with small soft pieces. Expand proteins: tender meat blended into vegetables, well-cooked beans mashed, egg fully cooked and crumbled, fish cooked and flaked (bone-free).
12 months and up: family foods, adapted
After 12 months, homemade baby food often becomes “family food, adjusted”: tender textures, safe sizes, less salt.
Teething or fatigue can bring a temporary preference for smoother foods. That’s common.
Signs your baby may be ready for more texture
Curiosity, better mouth control, and confident swallowing are encouraging signs. If gagging is frequent and intense, or your baby coughs repeatedly with lumps, slow down and step back a level.
Safety basics: kitchen hygiene, choking prevention, temperatures
Hygiene and cross-contamination
Think “simple and consistent”:
- wash hands with soap
- clean counters and utensils
- rinse produce
- separate raw meat/fish from ready-to-eat foods
- wash boards well (a separate board for meat can help)
- store in clean containers with tight lids
A worn seal or a loose lid can quietly sabotage storage.
Gagging vs choking (not the same thing)
Gagging is common when textures change. It looks dramatic, but the baby usually coughs and keeps breathing.
Choking is different: little or no sound, trouble breathing, color change. If you’re unsure, treat it as an emergency and seek immediate help.
Avoid high-risk choking foods in infancy: whole nuts, popcorn, hard candies, hard round items, and sticky chunks of nut butter.
Cooking and cooling: the medical “why”
Thorough cooking reduces microbial risk (Salmonella, Campylobacter, E. coli). A food thermometer is useful:
- poultry: 165°F / 74°C
- ground meats: 160°F / 71°C
- fish: 145°F / 63°C (opaque, flakes easily, remove bones)
- eggs: cook until white and yolk are firm
Cool quickly and don’t leave homemade baby food at room temperature beyond 1-2 hours. Reheat until steaming, stir, then cool before serving. Reheat only once. Discard leftovers that touched your baby’s spoon or mouth.
Foods to avoid or limit in the first year
- No honey before 12 months (infant botulism risk).
- No cow’s milk as a drink before 12 months (breastmilk or formula fits infant needs better, yogurt/cheese may be used earlier depending on tolerance and guidance).
- Skip added salt and added sugar (kidney workload and early taste shaping matter).
- Limit very salty processed foods and cured meats.
Allergens and homemade baby food: how to introduce them
Current guidance generally supports introducing common allergens during infancy once your baby is ready for solids (rather than delaying), with extra medical guidance if there is severe eczema or strong allergy history.
A practical routine:
- introduce one new food at a time
- wait 2-3 days before adding another
- watch for reactions over 24-72 hours
How to offer key allergens safely:
- Peanut: thin smooth peanut butter with water/breastmilk/formula, mix into a familiar puree (no chunks).
- Egg: fully cooked scrambled egg or hard-boiled egg mashed into vegetables.
- Dairy: plain full-fat yogurt, small amounts of cheese in mash (cow’s milk as a drink after 12 months).
- Wheat: wheat cereal or well-cooked wheat porridge blended smooth.
- Fish: low-mercury fish, cooked through, bones removed, finely flaked.
Warning signs after a new food: hives, lip/face swelling, repetitive vomiting, wheezing, persistent cough, breathing difficulty. Breathing trouble, widespread hives with swelling, or repetitive vomiting needs urgent medical care.
Building balanced homemade baby food: nutrients that matter most
As solids increase, babies rely more on complementary foods for iron and zinc. Omega-3 fatty acids (DHA/EPA) support brain and vision. Vitamin D supplementation is often needed in breastfed infants (commonly 400 IU/day, follow your clinician). Vitamin B12 matters if animal foods are limited, iodine supports thyroid hormones, choline supports brain development.
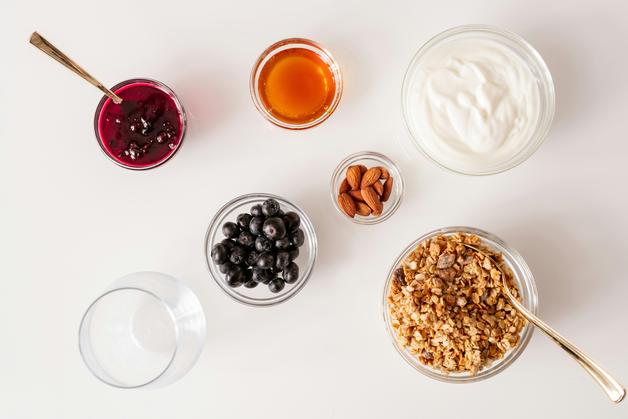
A simple “build” for many meals:
- iron source (meat, lentils, beans, tofu, fortified cereal)
- vitamin C partner (berries, mango, tomato, bell pepper in safe texture)
- healthy fat (avocado, olive oil, yogurt)
How to make homemade baby food (4 steps)
1) Choose and prep
Pick ripe produce. Organic is optional. Wash well. Peel thick skins if needed. Cut evenly for consistent cooking.
2) Cook until very soft
Steaming preserves flavor and is easy to control. Boiling also works, keep some cooking water to thin purees.
3) Blend or mash, then adjust texture
Start very smooth, later, mash with a fork. Progress in small steps.
4) Flavor without salt
Use mild herbs and spices instead of salt: cinnamon with apple, cumin with carrots or lentils, parsley with vegetables. Introduce seasonings one at a time.
Storage, freezing, thawing: keeping homemade baby food safe
Refrigerator temperature target: 40°F / 4°C.
Typical timelines:
- fruit/vegetable purees or compotes: 2-3 days
- meals with meat, fish, or egg: preferably within 24 hours
Freeze in small portions. Thaw in the refrigerator when possible. Avoid thawing on the counter. Don’t refreeze thawed food.
Throw food away if smell, appearance, or packaging seems off (swollen lid, leakage). When in doubt, discard.
A few high-value extras (rice, fish, and “busy week” solutions)
Rice and arsenic
Rotate grains so rice isn’t the default. Try oats, barley, quinoa, millet. If you cook rice, rinse well, cooking in extra water and draining can reduce arsenic.
Fish and mercury
Choose low-mercury fish (salmon, sardines, trout) and avoid high-mercury species (shark, swordfish). For many babies and young children, 1-2 small servings/week of low-mercury fish fits well.
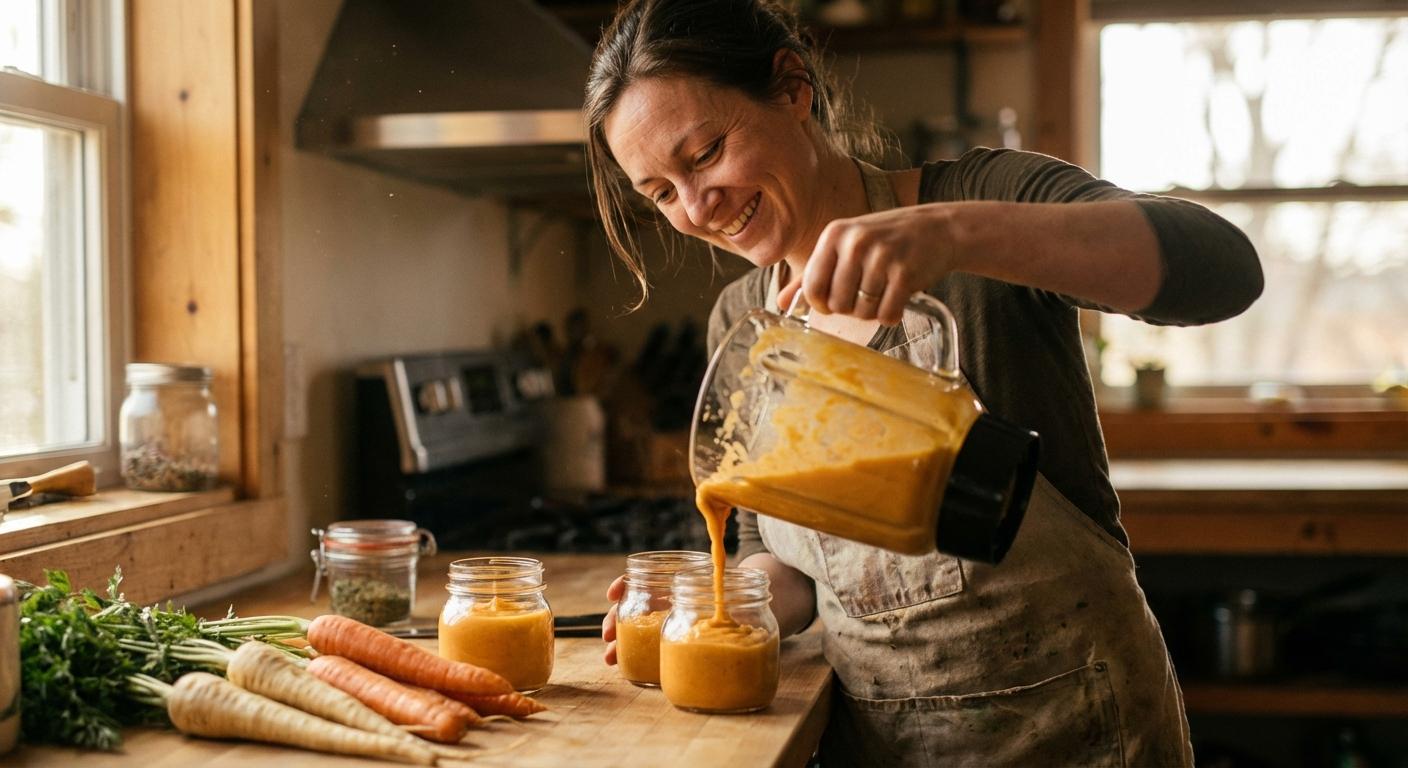
When meal prep collapses
Batch-cook two bases (sweet potato + lentils, for example), freeze portions, then finish with quick add-ins (olive oil, yogurt, fruit puree). Keep a couple of simple store-bought options for backup.
Key takeaways
- Homemade baby food can be safe and manageable: hygiene, thorough cooking, age-appropriate textures, and reliable storage do most of the work.
- A mix of homemade baby food and store-bought options is often the most sustainable routine.
- Start solids when readiness signs are present, milk feeds remain the foundation early on.
- Texture progression supports oral skills: smooth -> thicker -> mashed -> soft pieces/finger foods.
- Avoid honey before 12 months, avoid cow’s milk as a drink before 12 months, skip added salt and added sugar.
- Introduce allergens thoughtfully and watch for allergic reactions, seek urgent care for breathing problems or severe symptoms.
- Professionals can support feeding choices and safety, and you can download the Heloa app for personalized advice and free child health questionnaires.
Questions Parents Ask
How can I batch-cook homemade baby food without spending all day in the kitchen?
No need for complicated routines—simple “building blocks” often work best. You can cook 2–3 basics (for example: a vegetable purée, an iron-rich option like lentils, and a fruit compote), then freeze in small portions. On busy days, mix and match, and finish with an easy add-in like olive oil, yogurt, or a vitamin C fruit. If you’re exhausted, combining homemade and store-bought is also a perfectly reasonable rhythm.
Do I need special equipment (a baby food maker) for homemade baby food?
Not at all. A fork, a basic blender (or immersion blender), a steamer basket or saucepan, and a few clean containers are often enough. Many parents find it more sustainable to use what’s already in the kitchen rather than chasing “perfect” tools. What matters most is the texture your baby can handle and safe storage—not the gadget.
Should I add water, breast milk, or formula to homemade purées?
Any of these options can work. Water helps thin texture without changing taste much. Breast milk or formula can make the purée familiar and slightly richer—handy when your baby is just starting. If you’re unsure, you can simply adjust little by little until it looks smooth and easy to swallow.
Further reading: