Parents often want DIY baby sensory toys that feel calm, safe, and truly useful (without a cart full of flashy gadgets). You might be wondering: what actually counts as “sensory” for a baby, when can you start, and how do you keep everything hygienic when little hands (and mouths) explore everything? From the first weeks of life to the toddler years, sensory play can support attention, early motor skills, body awareness, and emotional settling, when the setup stays simple and closely supervised.
DIY baby sensory toys: what they are (and why they feel so satisfying)
What “sensory” means for babies
“Sensory” is simply the way a baby takes in information through the body and the brain, then organizes it to respond.
- Tactile (touch): smooth, ribbed, cool, squishy.
- Visual (sight): contrast, tracking, slow movement.
- Auditory (hearing): gentle, predictable sounds.
- Vestibular (movement/balance): rocking, rolling, changing position.
- Proprioceptive (body position/pressure): pushing, squeezing, resisting.
A helpful picture: your baby receives an input (a texture, a sound, a moving object), the nervous system processes it, then the body answers (reaching, turning the head, relaxing the shoulders, trying again). No “performance,” no scoreboard. Just wiring connections through repetition.
To keep DIY baby sensory toys effective (and not chaotic), aim for:


- one main sensory channel at a time,
- one repeatable action (shake, press, drop, fill/empty),
- one clear play zone (a mat, a tray, a defined floor space).
DIY vs store-bought: why homemade can feel calmer
Many commercial toys combine lights, loud music, fast movement, multiple textures, and dozens of detachable parts. Some babies enjoy it. Many get overstimulated, or simply lose interest.
With DIY baby sensory toys, you control:
- the intensity (soft sounds, slow visuals),
- the materials (washable textiles, smooth edges, sturdy containers),
- the focus (one skill supported at a time),
- the budget (often low).
Who sensory play is for (newborns to toddlers)
Sensory play can start from birth, but the form changes:
- 0–6 months: mostly looking, listening, brief touching during cuddles or tummy time.
- 6–12 months: reaching, grasping, transferring hand-to-hand, banging, dropping, mouthing, early cause-and-effect.
- 12–36 months: sorting, scooping, pretend play, longer attention, more precise movements.
Age ranges are signposts, not strict rules. A baby who mouths everything needs different choices than a toddler who is past that phase.
Why sensory play matters for development
Daily-life benefits you can actually notice
Well-chosen DIY baby sensory toys can support several developmental areas at once:
- Fine motor skills: squeezing, raking, grasping, releasing, scooping. Over time, this supports the thumb–index pincer grasp used for self-feeding and later drawing.
- Hand–eye coordination: aiming, adjusting force, letting go “on purpose.” Pouring games show this beautifully: your child calibrates movement by trial.
- Early language: when you label sensations (“smooth,” “cold,” “rough”), your baby links sensory input to meaning.
- Autonomy: a stable setup invites initiative. “I can try again.”
- Self-regulation: slow pressing or repetitive filling/emptying can be organizing for the nervous system.
Skills that build over time
Sensory play quietly supports:
- visual tracking and attention,
- grip strength and bilateral coordination (using both hands),
- cause-and-effect (“when I shake, I hear it”),
- early problem-solving (try, pause, adjust).
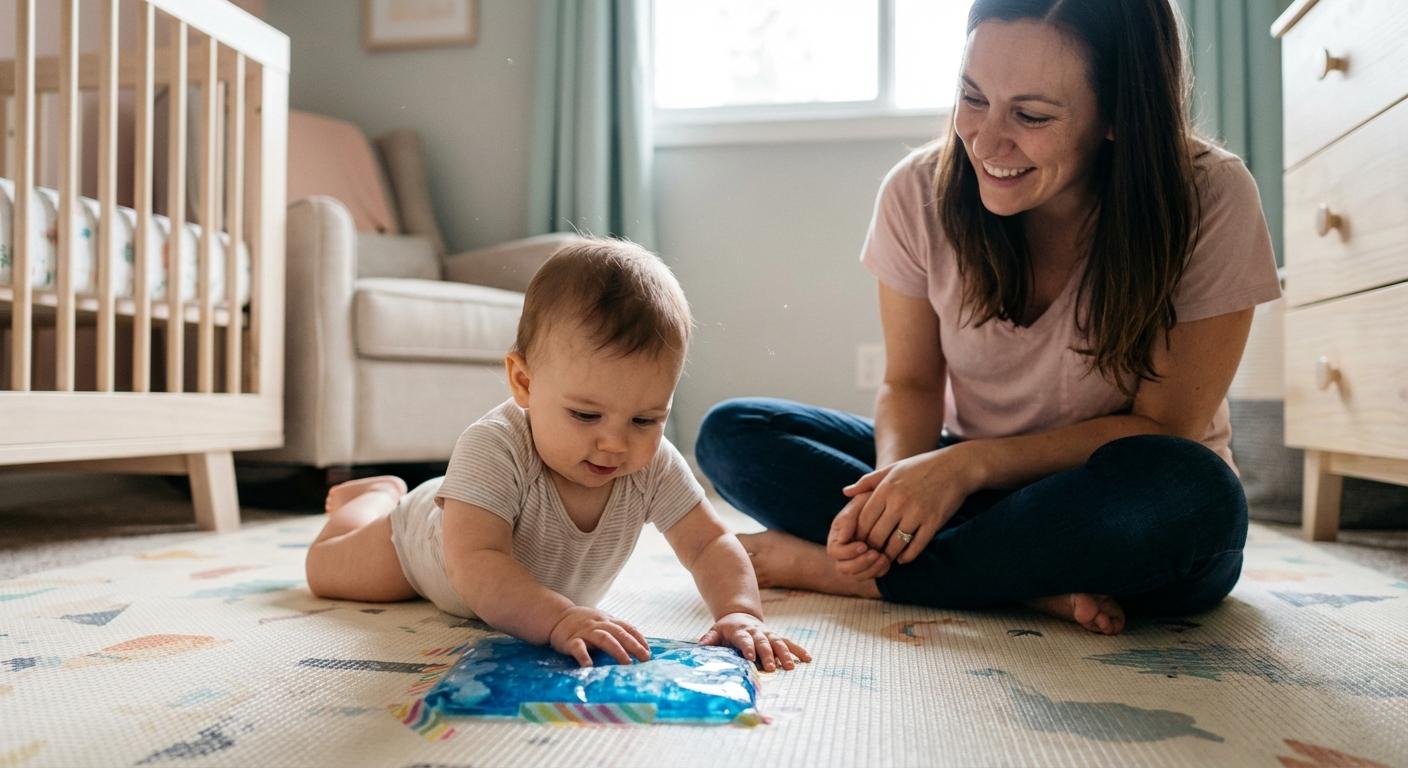
Bonding through responsive play
The magic is often your presence. Offer one object, wait, observe, then respond. A simple narration helps:
- “You shook it, listen.”
- “That one is bumpy.”
- “You stopped. Do you want a break?”
It’s interactive, but not pushy.
Safety and hygiene: the rules that make play feel secure
Supervision and safe setup
DIY baby sensory toys are for awake, supervised play only. Never place them in a crib for sleep.
Choose the safest surface:
- the floor on a play mat,
- a clear tummy-time area.
If your baby falls asleep during play, remove toys.
Choking hazards: think “detaches = eventually swallowed”
Under age 3, choking is the big fear. One simple rule helps: if a piece can detach, it will.
Prefer:
- oversized, single components,
- solid, one-piece items.
Avoid:
- beads, buttons, googly eyes, confetti,
- marbles, coins, loose pompoms,
- anything that could fit fully in the mouth.
Strings, ribbons, and loops
Skip long cords and loops. If you add fabric tabs, keep them short, flat, and securely stitched into seams (no dangling lengths).
Materials checklist (mouth-safe and washable)
If your baby can mouth it, choose materials that tolerate that reality:
- food-grade silicone or stainless steel,
- hard plastic that is BPA-free,
- untreated wood (baby-standard),
- washable textiles (cotton, terry cloth) that don’t shed.
Avoid:
- craft glues, varnishes, paints not intended for children,
- magnets and button batteries,
- balloons,
- loose glitter,
- essential oils (can irritate skin and mucous membranes).
Build checks: pull, twist, shake
Before play, do a quick safety routine:
- Pull test: tug attached parts.
- Twist/shake test: check caps, seams, closures.
- Think like a baby: biting, bending, slamming.
Repair or retire anything with:
- fraying seams, exposed stuffing,
- cracks, leaks, peeling tape,
- persistent odor or any sign of mold.
Cleaning, drying, and storage
Moisture is the quiet enemy.
- Wash and dry wet items promptly.
- Store dry fillers (pasta, rice, semolina) sealed and dry, replace if damp or smelly.
- Use ventilated bins and keep a “repair or retire” box.
A stress-saving trick: protect the space first (wipeable cloth, towel, washable mat).
Choosing DIY baby sensory toys by age and stage
0–6 months: contrast, gentle sound, soft textures
At this stage, sensory play is mostly observation and brief reaching.
Good ideas:
- high-contrast black-and-white fabric panels or cards (rounded edges),
- an unbreakable mirror fixed securely,
- fabric squares with one clear texture change,
- a soft crinkle insert inside a securely sewn pouch.
Priorities: big pieces, simple designs, washable materials, supervision.
6–12 months: cause-and-effect, banging, dropping, opening/closing
This is the “powerful hands” phase.
Good ideas:
- sealed shakers,
- discovery baskets with oversized safe household objects,
- simple open/close play with large containers (supervised),
- beginner scooping and pouring with big cups and bowls.
Priorities: closures that do not loosen, frequent inspection, no lids that become mouth-sized parts.
12–36 months: sorting, dough, more precise transfers
Toddlers love sequences.
Good ideas:
- sorting by color/shape with large pieces,
- more detailed pouring and scooping (smaller containers only when ready),
- manipulation dough,
- simple tactile “paths” (step, crawl, push).
Priorities: small hazards still out of reach.
Baby-safe materials and tools you may already have
Containers and bases
Useful options:
- thick plastic bottles for sensory bottles (only if intact and crack-free),
- airtight containers for dry bins,
- shallow bins for easier access.
Reused items are fine only if there are no cracks, sharp edges, or lingering odors.
Textures and fillers
To vary input:
- dry: large pasta (great starter), rice (often later), semolina (higher mouthing risk),
- fabric: cotton, terry cloth, fleece, velvet, satin,
- soft: large cotton balls, non-crumbly foam pieces.
If your baby mouths everything, go bigger and avoid tiny grains.
Kitchen tools for transferring
A simple kit works:
- ladle, large funnel,
- cups, bowls, colander.
Start wide and stable.
Visual and sound elements (calm and predictable)
- visual: water + oil for slow movement (optional food coloring),
- sound: dry filler inside a sturdy sealed container,
- contrast: black/white panels.
Easy DIY baby sensory toys: step-by-step ideas
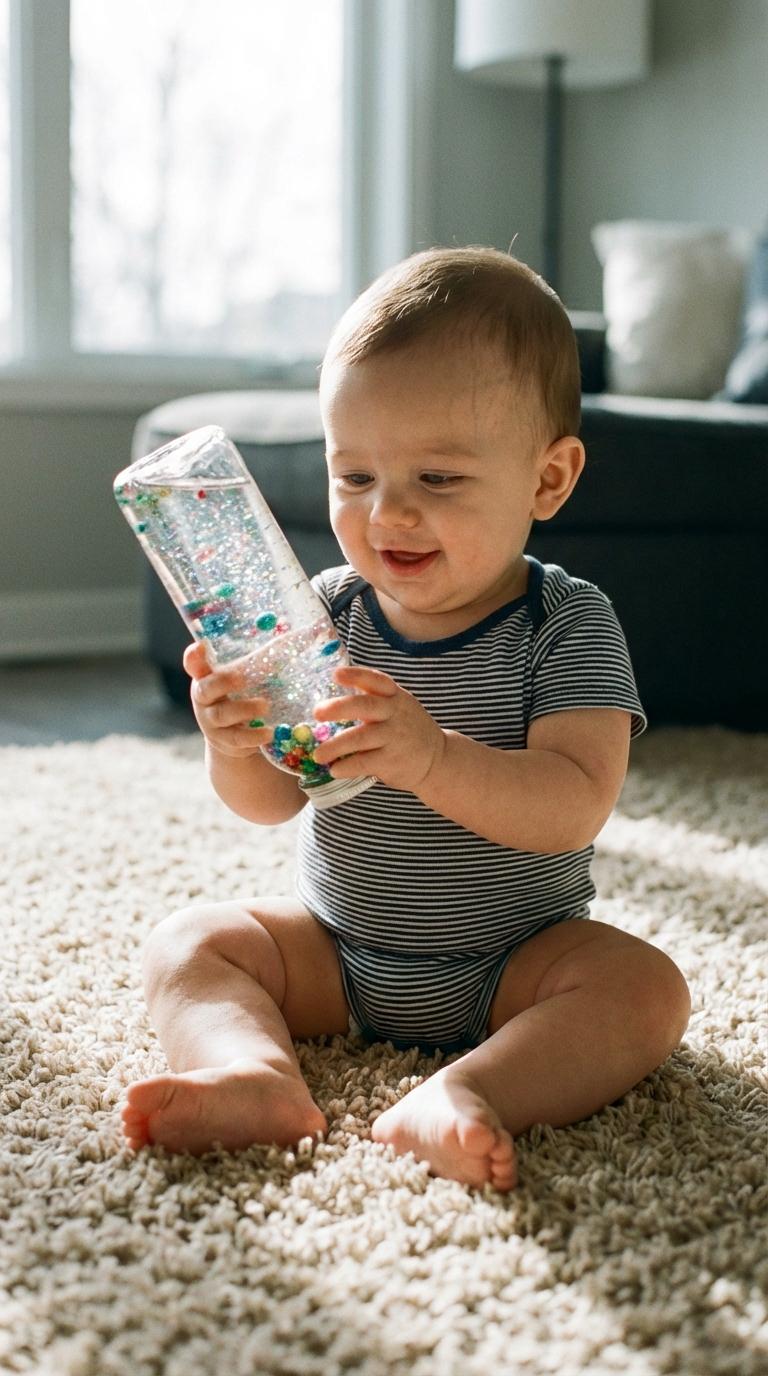
Sensory bottle (visual tracking, calm focus)
Materials: thick plastic bottle, water, a little oil (optional), food coloring (optional), a few large non-sharp items.
Steps:
1) Fill about two-thirds with water.
2) Add a small amount of oil for slower movement.
3) Add a few large items.
4) Close the cap tightly and secure it with strong tape around the cap area.
If it leaks, it’s not safe. For DIY baby sensory toys, sealing is non-negotiable.
Sensory bin for scooping and pouring
Materials: shallow bin, small amount of filler (start with large pasta), 2–3 tools (cup, spoon/ladle, bowl).
Make it easy:
- start with less filler than you think,
- offer one simple challenge: “fill,” “empty,” “pour.”
Double-bag sensory bag (pressing and squishing)
Materials: sturdy zip freezer bag (double-layer), shower gel or hair gel, optional coloring, strong tape.
Steps:
1) Add gel, remove excess air, zip closed.
2) Place inside a second bag, zip closed.
3) Tape across the closure area.
4) Offer on the floor with close supervision.
If your baby bites hard or tries to tear plastic, skip this.
Simple sensory mat (flat textures + optional crinkle)
Sew fabric squares together with reinforced stitching. For a crinkle zone, place crumpled paper between two fabric layers and stitch securely.
Avoid glued-on decorations.
Homemade shaker (gentle sound)
Use a sturdy food container with dry filler:
- rice (fine sound),
- large pasta (duller sound),
- crumpled paper (light sound).
Seal tightly and re-check often.
Edible “paint” for early creative play
Options:
- plain yogurt mixed with a little naturally colored puree (beet, spinach, carrot),
- cornstarch + water heated into a gel.
Use a tray or thick paper. Clean with warm water soon after.
Dough and salt dough (age-adapted)
- Salt dough is often better from about 18–24 months because it is extremely salty (2 flour : 1 salt : 1 water).
- More taste-friendly alternatives: thick mashed potato, thick yogurt, or flour + water + a little oil.
Offer simple actions: rolls, balls, pressing, hiding a large object.
More ideas by sensory focus (when you want variety without overload)
Visual play
- high-contrast panels,
- unbreakable mirror play,
- slow side-to-side tracking during tummy time.
Tactile play
Start with three textures only (soft, rougher, squishy). Touch, pause, name it. If your baby pulls away, respect it.
Auditory play
Keep sounds gentle and predictable. One sound at a time, then observe the reaction.
Using DIY baby sensory toys in a baby-led way
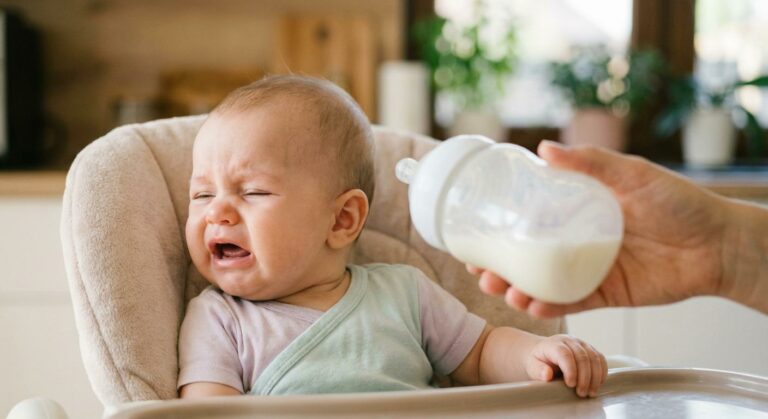
Short sessions and reading cues
Often, 5–15 minutes is plenty.
Slow down or stop if you see:
- looking away, yawning, eye rubbing,
- back arching, stiffening, crying,
- frantic, disorganized movements.
Curiosity can look like excitement, overstimulation can look similar. When unsure, simplify.
Rotation: less out, more interest
Try:
- 3–5 toys available,
- rotate every 2–3 days,
- store the rest out of sight.
Where sensory play fits in the day
- tummy time: one contrast item within reach,
- calmer moments: sensory bottle, mirror, soft textures,
- highchair play: wipeable, sturdy, unbreakable items.
Model one action, then pause
Show once, then wait:
- “When you shake, it makes a sound.”
- “Smooth… now bumpy.”
- “You pressed it, look what changed.”
Common pitfalls (and how to avoid them)
Overcomplicating designs
With DIY baby sensory toys, simple is often safer and more interesting. One goal per toy: one sound, one texture set, one movement effect.
Weak attachments and cute-but-fragile add-ons
Skip glue-only builds and detachable decorations. Prefer stitching and reinforced seams.
Risky details
Avoid:
- small removable parts,
- long loops,
- brittle plastic,
- lids that can pop off or twist open.
Skipping inspections
Check before and after play for cracks, loose stitches, dampness, odors, and seal changes. When unsure, remove it.
Cleaning, storage, and maintenance
Cleaning by material
- fabric: warm wash with mild fragrance-free detergent, dry fully,
- plastic: warm soapy water, rinse well, avoid abrasive scrubbing,
- silicone: wash thoroughly, boil only if heat-safe,
- wood: wipe with a damp cloth, don’t soak.
Drying to prevent mold
Dry completely, especially around seams and folds. A musty smell suggests trapped moisture, set it aside.
Storage that simplifies life
Ventilated bins, a small rotation, and a “repair or retire” box keep worn items out of circulation.
A simple routine that stays fun
Three staples to start
In one short session, make:
- a sealed shaker,
- a small texture mat section,
- a sensory bottle.
That’s sound, touch, and visual tracking.
Match toys to mood
- calm: sensory bottle, mirror play, soft textures,
- active: shaker, scooping/pouring, supervised open/close play.
Notice preferences
A quick note, “liked,” “neutral,” “too much,” can guide the next setup. Safe repetition is powerful.
Key takeaways
- DIY baby sensory toys support attention, fine motor skills, coordination, and self-regulation through simple, repeatable play.
- Safety relies on oversized components, strong build quality, reliable sealing, and awake supervision.
- Everyday containers and kitchen tools can create rich sensory experiences with minimal cost.
- Sensory bottles, bins, mats, shakers, edible paint, and dough cover multiple sensory channels across ages.
- Keep sessions brief, watch cues of overstimulation, and inspect toys for wear, leaks, and moisture.
- For extra support, parents can turn to local health professionals (pediatrician, pediatric nurse, occupational therapist) and download the Heloa app for personalized tips and free child health questionnaires.
Questions Parents Ask
Can I make DIY sensory toys if my baby has eczema or very sensitive skin?
Yes—many families do, and it can stay comfortable. You can prioritize soft, breathable fabrics (cotton, bamboo), keep textures smooth rather than scratchy, and wash items with a fragrance-free detergent. If a new material seems to trigger redness, it’s okay to pause and switch to a simpler option (like a clean cotton cloth, a cool metal spoon, or a silicone teether). If flare-ups are frequent, your pediatrician can help you identify the most skin-friendly choices.
What are the safest fillers for a homemade sensory bottle?
For many babies, the safest approach is no loose micro-fillers at all. Instead, choose a few large, lightweight items (big pom‑poms that can’t break apart, chunky plastic shapes, or large beads made for baby use) and seal the lid thoroughly. If you prefer a sound effect, larger pasta can be calmer than tiny grains. Whatever you pick, it’s important that the bottle is thick, intact, leak-free, and checked regularly for cracks or loosening.
How do I know if sensory play is “too much” for my baby?
Rassurez-vous—babies often show clear cues. If you notice turning away, stiffening, fussing, or sudden frantic movements, you can simply reduce intensity: one object, one texture, less sound, shorter time. Many babies re-engage quickly once things feel predictable again.